This DIY Spot Treatment Dries Pimples Overnight
This DIY spot treatment dries pimples overnight using natural ingredients like tea tree oil, honey, and apple cider vinegar. These ingredients target inflammation and bacteria, helping to reduce redness and promote healing. Start by mixing them and applying directly to pimples after cleansing your face. Let it dry before your skincare routine. For best results, use it before bed. Keep exploring to discover more tips on achieving clearer skin and how to make this treatment even more effective.
Key Takeaways
- Combine tea tree oil, aloe vera gel, apple cider vinegar, and honey for an effective DIY spot treatment.
- Cleanse your face thoroughly before applying the treatment to maximize effectiveness.
- Use a clean cotton swab to apply the mixture directly onto affected areas.
- Allow the treatment to dry completely before touching your face or applying other products.
- For best results, apply the treatment before bed to allow it to work overnight.
Understanding Acne and Its Causes
While you might think of acne as just a teenage problem, it can affect anyone at any age. Understanding the root causes of acne is essential for effective treatment.
Hormonal fluctuations, stress, and diet can all play a significant role in your skin’s condition. When your pores become clogged with excess oil and dead skin cells, bacteria thrive, leading to inflammation and breakouts. Additionally, certain hidden habits may exacerbate your acne, making it crucial to identify and correct them.
Identifying these factors in your life can help you tailor a spot treatment DIY that addresses your specific needs. By combining knowledge of your triggers with effective strategies, you can minimize flare-ups.
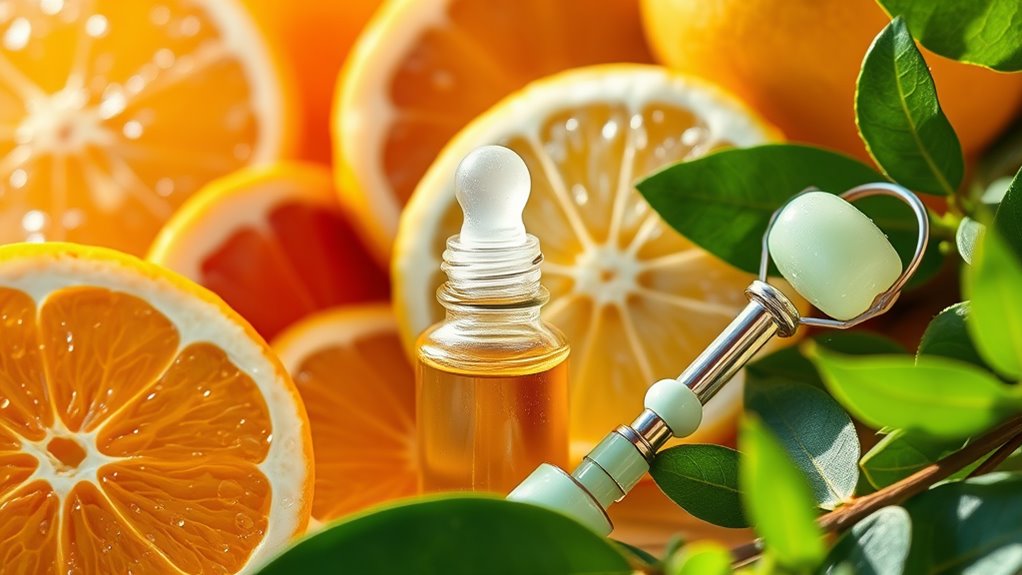
Essential Ingredients for Your Spot Treatment
When it comes to crafting an effective DIY spot treatment for pimples, choosing the right ingredients is essential. Focus on potent components like tea tree oil, renowned for its antibacterial properties, and witch hazel, which reduces inflammation.
Salicylic acid can penetrate pores, helping to unclog them and promote healing. You might also consider adding honey, known for its soothing and antimicrobial effects.
For a touch of exfoliation, incorporate a bit of lemon juice, but use it sparingly to avoid irritation. Finally, a pinch of aspirin can serve as a powerful anti-inflammatory agent due to its active ingredient, acetylsalicylic acid. Additionally, combining these ingredients can enhance their overall effectiveness in treating acne spots.
Step-by-Step Recipe for the DIY Spot Treatment
Now that you know the essential ingredients for your DIY spot treatment, it’s time to put everything together.
You’ll learn how to mix these ingredients and apply the treatment effectively.
Let’s get started on creating a solution that works for you! One key factor in the effectiveness of this treatment is the science behind natural remedies that help reduce acne quickly.
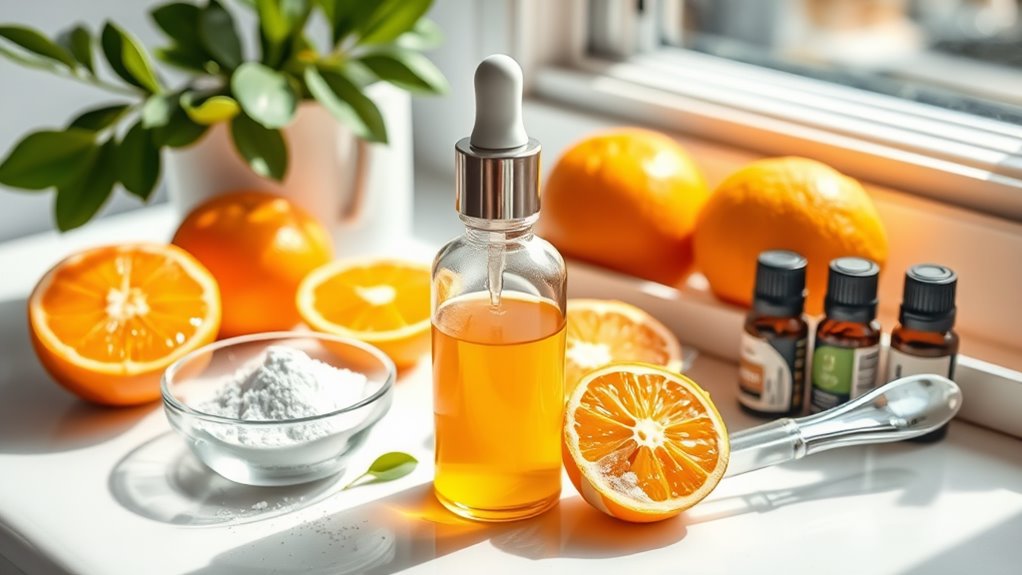
Essential Ingredients Needed
To effectively tackle those pesky pimples, gathering the right essential ingredients is crucial.
You’ll want to guarantee you have everything ready to create your powerful DIY spot treatment. Here’s what you need:
-
Tea tree oil: Its antibacterial properties help reduce inflammation and bacteria.
-
Aloe vera gel: Soothing and healing, it calms irritated skin.
-
Apple cider vinegar: Balances pH and fights acne-causing bacteria.
-
Honey: Natural humectant with antimicrobial benefits, perfect for hydration.
With these ingredients in hand, you’ll be well on your way to mastering your skincare routine.
This blend not only targets blemishes but also promotes healthier skin overall.
Get ready to say goodbye to stubborn pimples and hello to clearer skin!
Application Techniques Explained
Applying your DIY spot treatment effectively is key to maximizing its benefits. Start by thoroughly cleansing your face to remove dirt and oil. Pat your skin dry, then use a clean cotton swab to apply the treatment directly onto the pimple. Allow it to dry before moving on to your regular skincare routine. For best results, apply the treatment before bed and leave it overnight.
| Step | Action |
|---|---|
| Step 1 | Cleanse your face |
| Step 2 | Pat skin dry |
| Step 3 | Apply treatment with a cotton swab |
How to Apply the Treatment Effectively
Before you apply your DIY spot treatment, make sure your skin is clean to help the ingredients work better. Use a small amount and apply it sparingly to avoid overwhelming your skin. Once applied, give it time to dry completely before moving on with your skincare routine. Additionally, ensure that you’re not making common face-washing mistakes, as these can hinder the effectiveness of your treatment.
Cleanse Skin First
Since your skin is the canvas for any treatment, cleansing it first is essential for maximizing the effectiveness of your pimple spot treatment. A clean surface allows the treatment to penetrate deeper and work more efficiently.
Here’s how to guarantee your skin is prepped and primed:
-
Remove impurities: Say goodbye to dirt and excess oil that can clog pores.
-
Use a gentle cleanser****: Opt for something that won’t strip your skin and cause irritation.
-
Pat dry: Gently towel off to avoid irritating your skin further.
-
Check for dryness: Make sure your skin isn’t overly dry; it should feel balanced and ready for treatment.
Apply Sparingly
To get the most out of your spot treatment, use it sparingly and target only the affected areas.
Apply a small amount on a clean fingertip or a cotton swab, then gently dab it directly onto the pimple. Avoid slathering the treatment over healthy skin, as this can lead to irritation or dryness in those areas.
Be precise; the goal is to deliver the active ingredients right where they’re needed most. If you’re treating multiple spots, repeat the process for each one, maintaining that focused approach.
Allow to Dry
Once you’ve applied your spot treatment, it’s vital to allow it to dry completely before touching your face or applying any other products. This step is important for maximizing the treatment’s effectiveness and ensuring your skin gets the full benefit.
Here’s how to make the most of this drying period:
-
Resist the urge to poke or prod at your skin—patience is key!
-
Create a barrier by avoiding makeup or other skincare products until the treatment dries.
-
Set a timer to distract yourself; use those minutes for self-care or relaxation.
-
Visualize success as you wait, knowing that each moment brings you closer to clearer skin.
Master this step, and you’re one step closer to conquering those pesky pimples!
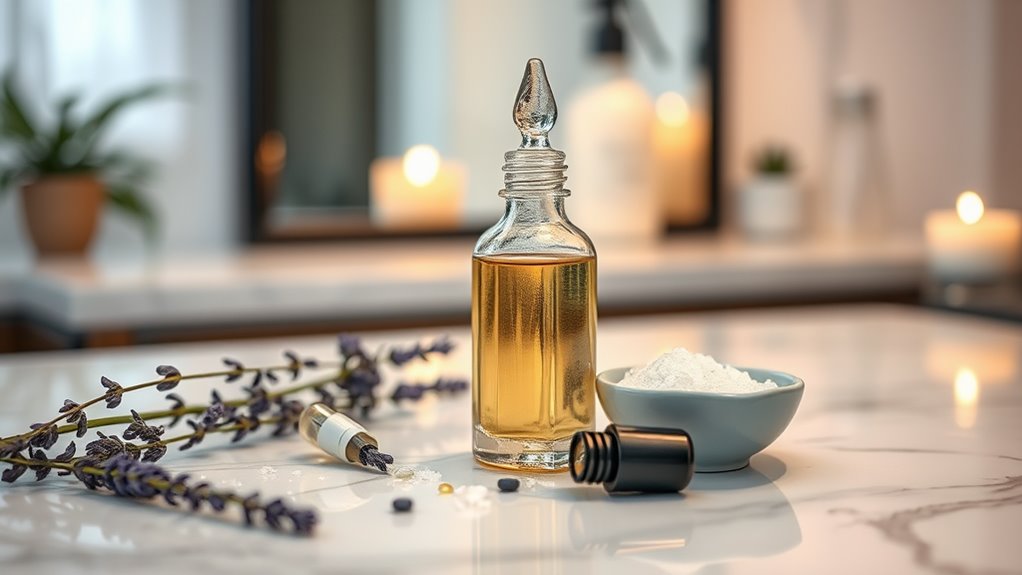
Benefits of Using Natural Ingredients
When you choose natural ingredients for your DIY spot treatments, you’re not just opting for a gentler approach; you’re also harnessing the power of nature to combat blemishes effectively.
Natural ingredients like tea tree oil, honey, and aloe vera not only soothe irritation but also possess antibacterial and anti-inflammatory properties. These elements work synergistically to reduce redness and promote healing without harsh chemicals that can strip your skin. Additionally, many natural remedies can help reduce the appearance of acne scars, making them a valuable addition to your skincare routine.
You’ll find that using natural remedies often leads to fewer side effects, allowing your skin to maintain its balance and health. Plus, many natural ingredients are rich in antioxidants, which can enhance your skin’s overall appearance.
The Science Behind Overnight Acne Treatment
While many seek quick fixes for pesky pimples, understanding the science behind overnight acne treatments can make all the difference.
These treatments often combine potent ingredients that target inflammation, bacteria, and excess oil. Here’s what you should know:
-
Fast-acting ingredients like salicylic acid penetrate pores to clear up acne quickly.
-
Anti-inflammatory agents soothe redness and swelling, promoting a calmer complexion.
-
Natural extracts, such as tea tree oil, harness antibacterial properties to fight acne-causing bacteria.
-
Drying agents like benzoyl peroxide reduce excess oil, preventing new breakouts.
Additional Tips for Clearer Skin
Achieving clearer skin goes beyond just using spot treatments; it involves adopting a holistic approach to your skincare routine.
Start by cleansing your face twice daily with a gentle cleanser to remove dirt and excess oil. Exfoliate weekly to slough off dead skin cells and prevent clogged pores. Hydration is key, so incorporate a lightweight moisturizer that won’t clog your pores.
Don’t forget sun protection—apply a broad-spectrum sunscreen daily. Additionally, maintain a balanced diet rich in antioxidants and omega-3 fatty acids, as they support skin health from within.
Stay hydrated by drinking plenty of water, and manage stress through activities like yoga or meditation. These habits work together to create a foundation for clear, radiant skin.
When to Seek Professional Help
How do you know when it’s time to seek professional help for stubborn acne? If your DIY treatments aren’t working, don’t hesitate to consult a dermatologist. Recognizing the signs early can save you from prolonged frustration and skin damage.
Here are a few indicators:
- You’re experiencing severe breakouts that leave scars.
- Over-the-counter products aren’t making a noticeable difference.
- Your skin feels inflamed or painful, rather than just irritated.
- You’re dealing with persistent acne well into adulthood.
These signs signal that you might benefit from a tailored treatment plan.
Frequently Asked Questions
Can This Treatment Be Used on Sensitive Skin?
Yes, you can use this treatment on sensitive skin, but proceed with caution. Start with a patch test to gauge your skin’s reaction, and adjust the application frequency based on how your skin responds.
How Long Can I Store the DIY Treatment?
You can store the DIY treatment in a cool, dark place for up to two weeks. Just make sure to check for any changes in color or texture before using it again.
Is This Treatment Safe for Teenagers?
Yes, this treatment’s generally safe for teenagers, as long as you follow the instructions carefully. Always test a small area first to guarantee there’s no irritation, and consult a dermatologist if you have concerns.
Can I Use It on Cystic Acne?
You can use this treatment on cystic acne, but results may vary. It’s best to test it on a small area first. For persistent cysts, consult a dermatologist for tailored advice and effective solutions.
Will This Treatment Cause Skin Peeling?
Yes, this treatment can cause skin peeling, especially if you have sensitive skin. It’s essential to monitor your skin’s reaction and adjust usage accordingly to avoid excessive dryness and irritation during the healing process.