How to Make a DIY Spot Treatment That Works
To make an effective DIY spot treatment, mix 1 teaspoon of tea tree oil with 2 teaspoons of a carrier oil. Apply it directly to blemishes using a cotton swab and let it dry. For best results, do this twice daily after cleansing your skin. You can also explore combinations with aloe vera, honey, and cinnamon to enhance their effectiveness. There’s much more to discover about crafting the perfect treatment for your skin’s unique needs.
Key Takeaways
- Combine 1 teaspoon of tea tree oil with 2 teaspoons of a carrier oil for an effective spot treatment.
- Apply the mixture directly to blemishes using a clean cotton swab for targeted relief.
- Cleanse your skin gently before application and allow the treatment to absorb for a few minutes.
- Store the treatment in a dark glass container in a cool, dry place to maintain its effectiveness.
- Monitor the treatment’s shelf life of two to three weeks, discarding any that show changes in color, consistency, or smell.
Understanding Acne and the Need for Spot Treatments
Acne can be frustrating, especially when you wake up to a breakout just before an important event. Understanding acne’s triggers is essential for effective management. Hormonal fluctuations, stress, and diet can all contribute to flare-ups.
When a pimple appears, your best ally is a targeted spot treatment. These formulations deliver potent ingredients directly to the affected area, providing rapid relief and minimizing inflammation. Recognizing the need for spot treatments empowers you to tackle breakouts head-on, rather than letting them dictate your confidence. Additionally, it’s important to consider that common causes of adult acne can often lead to unexpected breakouts, making effective prevention strategies crucial.
Essential Ingredients for Your DIY Spot Treatment
When creating your DIY spot treatment, knowing the essential ingredients is vital.
You’ll want to contemplate key active ingredients that target acne effectively, as well as the choice between natural and synthetic options.
Each type has its benefits, and understanding them can help you tailor a treatment that works best for your skin. Additionally, incorporating natural ingredients like tea tree oil can enhance the effectiveness of your treatment.
Key Active Ingredients
To effectively tackle blemishes, understanding the key active ingredients in your DIY spot treatment is essential.
Start with salicylic acid, a powerhouse for unclogging pores and reducing inflammation. Next, consider benzoyl peroxide, known for its antibacterial properties that target acne-causing bacteria directly.
If you’re looking for a natural option, tea tree oil is an excellent addition, boasting both antimicrobial and anti-inflammatory benefits. Don’t overlook witch hazel; it’s a fantastic astringent that helps reduce excess oil.
Finally, incorporating aloe vera can soothe irritated skin and promote healing.
Natural vs. Synthetic Options
Choosing between natural and synthetic ingredients for your DIY spot treatment can greatly impact your results.
Natural options often provide gentler effects and reduced irritation, while synthetic ingredients can deliver more potent, targeted results. Here are key factors to evaluate:
-
Efficacy: Synthetic ingredients may work faster due to their concentrated formulations.
-
Skin Type: Natural ingredients are typically better for sensitive skin, minimizing the risk of allergic reactions.
-
Longevity: Synthetic options often have a longer shelf life due to preservatives.
-
Environmental Impact: Natural ingredients tend to be more eco-friendly and sustainable.
Ultimately, your choice should align with your skin goals and values.
Experiment to find the perfect balance for your DIY spot treatment!
Step-by-Step Guide to Making a Tea Tree Oil Spot Treatment
To create an effective tea tree oil spot treatment, you’ll need a few key ingredients and the right application method. We’ll also cover how to store your concoction properly to maintain its potency. Additionally, tea tree oil is known for its natural antibacterial properties, which can help reduce acne quickly. Let’s get started on making your own natural solution!
Ingredients You’ll Need
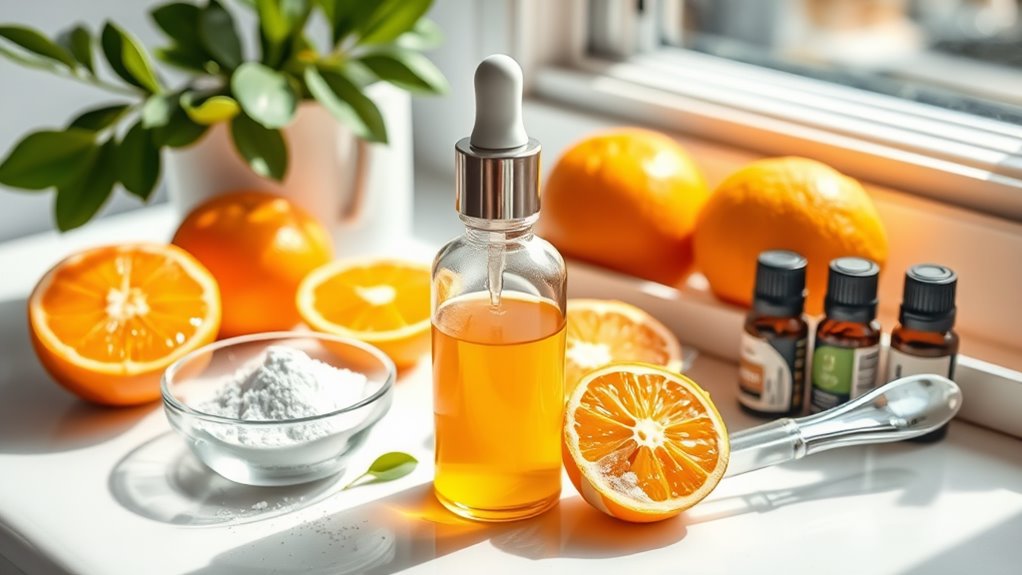
Before diving into the process of making your tea tree oil spot treatment, it’s essential to gather the right ingredients.
Having everything on hand will streamline your DIY experience and guarantee effective results.
Here’s what you’ll need:
-
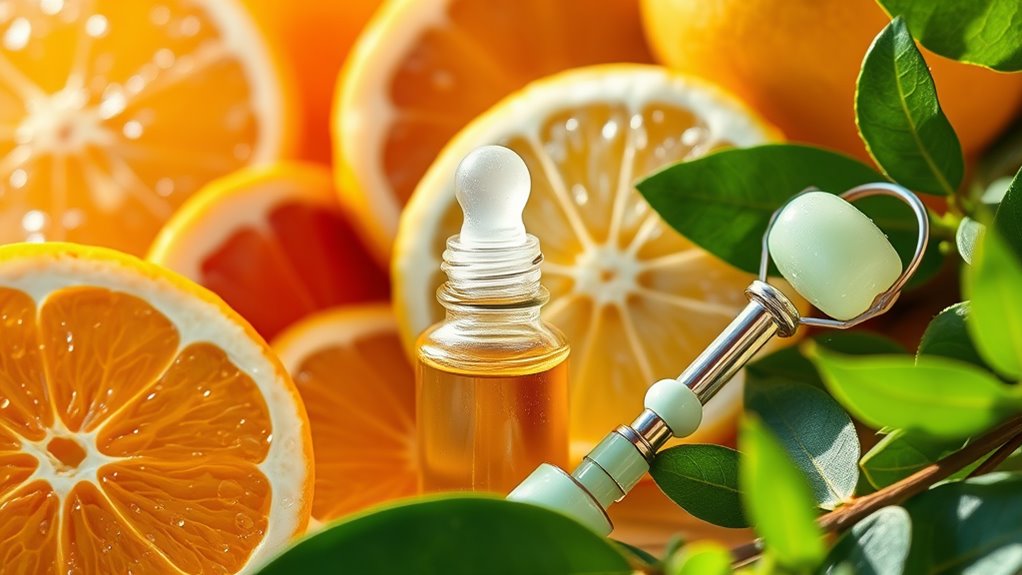
Tea Tree Oil – Known for its antibacterial properties, it’s the star ingredient.
-
Carrier Oil (like jojoba or coconut) – This dilutes the tea tree oil, making it safe for your skin.
-
A Clean Glass Container**** – Use this for mixing and storing your treatment.
-
Cotton Swabs or Pads – Perfect for applying the treatment precisely to blemishes.
With these ingredients ready, you’re set to create a powerful spot treatment that can help you achieve clearer skin.
Application Method Explained
Creating your tea tree oil spot treatment is straightforward and only requires a few simple steps. First, gather your ingredients and tools. Then, follow this guide:
| Step | Action |
|---|---|
| 1 | Mix 1 teaspoon of tea tree oil with 2 teaspoons of carrier oil (like jojoba or coconut oil). |
| 2 | Stir the mixture well until combined. |
| 3 | Using a clean cotton swab, apply the mixture directly to the blemish. |
Allow the treatment to dry before applying any other products. Repeat this process twice daily for best results. With consistency and precision, you’ll effectively harness the power of tea tree oil to combat breakouts. Master these steps, and you’ll see clearer skin in no time!
Storage Tips and Techniques
Once you’ve mixed your tea tree oil spot treatment, proper storage is essential to maintain its effectiveness. Here are some key storage tips to guarantee your treatment stays potent:
-
Use a dark glass container****: Light can degrade the oil, so opt for amber or cobalt blue bottles.
-
Store in a cool, dry place****: Avoid humidity and heat sources, which can compromise the oil’s integrity.
-
Tightly seal the bottle: Make sure the cap is secure to prevent evaporation and contamination.
-
Label the container: Include the contents and date of preparation to track freshness.
How to Create a Honey and Cinnamon Spot Treatment
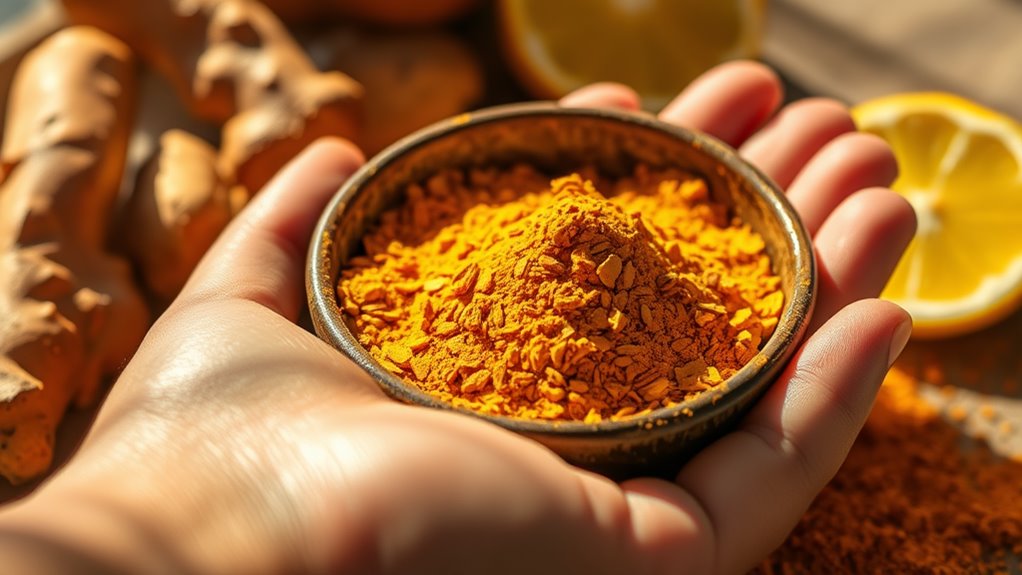
A simple yet effective way to tackle pesky blemishes is by using a honey and cinnamon spot treatment. To create this powerful concoction, mix two tablespoons of raw honey with one teaspoon of ground cinnamon in a small bowl.
Stir the ingredients until you achieve a smooth paste. Before applying, cleanse your face thoroughly, ensuring the affected area is dry.
With clean fingers or a cotton swab, apply a thin layer of the mixture directly onto the blemish. Leave it on for about 10–15 minutes, allowing the natural antibacterial properties to work their magic. Honey is known for its natural antibacterial properties that help reduce inflammation and promote healing.
Rinse thoroughly with warm water, and pat your skin dry. Use this treatment up to two times a week for best results, and watch your blemishes diminish!
Using Aloe Vera for Soothing Breakouts
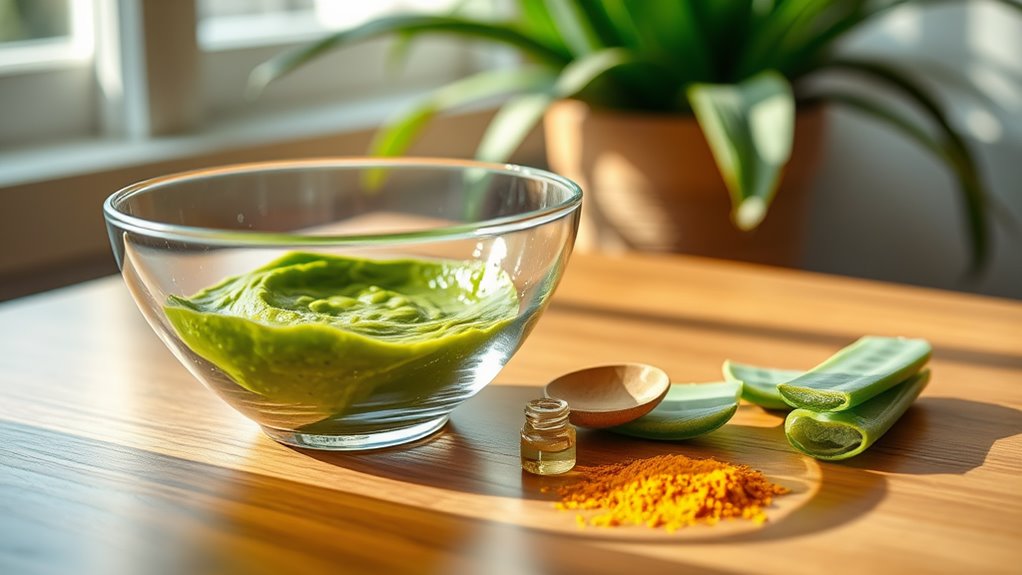
Three key benefits of using aloe vera for soothing breakouts make it a must-have in your skincare routine.
First, aloe vera’s anti-inflammatory properties help reduce redness and swelling, calming irritated skin.
Second, its natural antibacterial qualities can combat acne-causing bacteria, minimizing future breakouts.
Finally, aloe vera’s hydrating effects guarantee your skin remains moisturized without clogging pores.
To maximize its benefits, consider the following:
- Apply fresh aloe vera gel directly to the affected area.
- Leave it on for at least 30 minutes before rinsing.
- Use it daily for consistent results.
- Combine it with other soothing ingredients for enhanced effects.
Incorporating aloe vera into your regimen can elevate your skincare mastery and promote clearer skin. Additionally, using pure aloe vera gel as an overnight treatment can significantly enhance its soothing properties.
Combining Ingredients for Enhanced Effectiveness
Building on the soothing properties of aloe vera, combining it with other effective ingredients can amplify its benefits for your skin.
For instance, mixing aloe vera with tea tree oil enhances its antibacterial effects, making it a powerful ally against acne-causing bacteria. You might also consider adding honey, known for its natural healing and moisturizing properties, to create a hydrating treatment that fights inflammation.
Additionally, incorporating witch hazel can help tighten pores and reduce redness. Experimenting with these combinations allows you to tailor your spot treatment to your specific skin needs.
Remember to test any new mixture on a small area first, ensuring compatibility with your skin. Mastering these combinations can lead to visibly clearer skin and a more effective treatment strategy.
Tips for Proper Application and Usage
To achieve the best results from your DIY spot treatment, applying it correctly is essential. Follow these tips for ideal usage:
-
Cleanse Your Skin: Start with a gentle cleanser to remove dirt and oils. This guarantees your treatment penetrates effectively.
-
Target the Area: Use a clean cotton swab or your fingertip to apply the treatment directly on the blemish. Avoid surrounding skin to minimize irritation.
-
Allow It to Absorb: Give your treatment a few minutes to soak in before applying any other products. This maximizes its efficacy.
-
Use Sparingly: Less is often more. Overapplying can lead to excessive dryness or irritation, counteracting your efforts.
Stick to this routine, and you’ll be on your way to clearer skin in no time!
Storage and Shelf Life of Your DIY Treatments
While you may have crafted the perfect DIY spot treatment, understanding how to store it properly guarantees it remains effective for as long as possible.
First, use an airtight container to minimize exposure to air and contaminants. Glass jars or dark-colored bottles work best, as they protect against light degradation.
Keep your treatment in a cool, dry place, away from direct sunlight and humidity, which can compromise its potency.
Generally, your DIY spot treatment should last for about two to three weeks, but always check for changes in color, consistency, or smell.
If you notice any alterations, it’s best to discard it and whip up a fresh batch.
Mastering storage assures you get the most out of your hard work.
When to Seek Professional Help for Acne
If your acne persists despite your best DIY efforts, it might be time to seek professional help.
Recognizing when to consult a dermatologist can greatly impact your skin health. Here are four signs you should consider:
-
Severe Acne: If you have cystic or nodular acne that’s painful and widespread.
-
Scarring: When you notice dark spots or scars developing.
-
Treatment Resistance: If over-the-counter products and DIY treatments haven’t improved your condition after several weeks.
-
Psychological Impact: If your acne affects your self-esteem or mental well-being.
Don’t hesitate to reach out to a professional.
They can provide targeted treatments and personalized advice to help you regain control over your skin.
Frequently Asked Questions
Can I Use These Treatments on Sensitive Skin?
Yes, you can use these treatments on sensitive skin, but you should patch test first. Always start with a small amount and monitor your skin’s reaction to avoid irritation or adverse effects. Prioritize your skin’s health.
How Often Should I Apply the Spot Treatment?
You should apply the spot treatment once or twice daily, depending on your skin’s needs. Monitor how your skin reacts, and adjust frequency accordingly to avoid irritation while maximizing effectiveness for clearer skin.
Are There Any Side Effects From These Ingredients?
Yes, some ingredients might cause irritation, redness, or dryness for your skin. It’s essential to patch test first and adjust your formulation based on how your skin responds to avoid unwanted side effects during treatment.
Can I Combine Different Recipes Into One Treatment?
Absolutely, you can combine different recipes into one treatment! Just make sure the ingredients complement each other, and test a small area first to avoid any adverse reactions. Mastering this blend can enhance your results greatly.
How Do I Know if the Treatment Is Working?
To know if the treatment’s working, monitor your skin closely. Look for reduced redness, less irritation, or fading spots over time. If you see improvements, you’re on the right track with your approach.