Scar Healing Balm You Can Make at Home
You can easily make a scar healing balm at home with just a few natural ingredients. Combine shea butter or coconut oil with beeswax for texture, and add essential oils like lavender and tea tree for healing properties. Stir in vitamin E oil and optional calendula or chamomile extracts for extra soothing benefits. Apply twice daily for best results, and store it in a cool, dark place. Keep going to discover more about the process and additional remedies.
Key Takeaways
- Combine shea butter or coconut oil with beeswax, lavender, and tea tree essential oils for an effective scar healing balm.
- Melt beeswax and carrier oil together in a double boiler for a smooth consistency before adding essential oils.
- Apply the balm to clean, dry skin twice daily, gently massaging in circular motions for best results.
- Store the balm in a cool, dark place in a sealed glass or metal container to maintain its effectiveness.
- Enhance scar healing by incorporating natural remedies like aloe vera, honey, and vitamin E oil into your routine.
Ingredients Needed for Scar Healing Balm
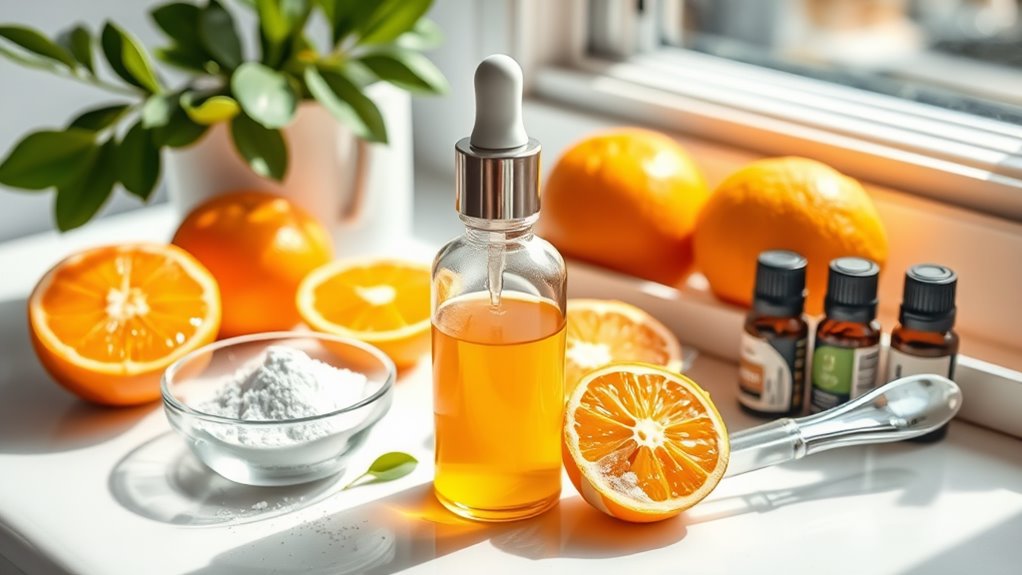
Creating an effective scar healing balm starts with the right ingredients. For your DIY scar balm, focus on potent, natural components that promote healing.
Begin with a base like shea butter or coconut oil, which hydrates and nourishes the skin. Incorporate beeswax to give your balm a solid consistency and lock in moisture.
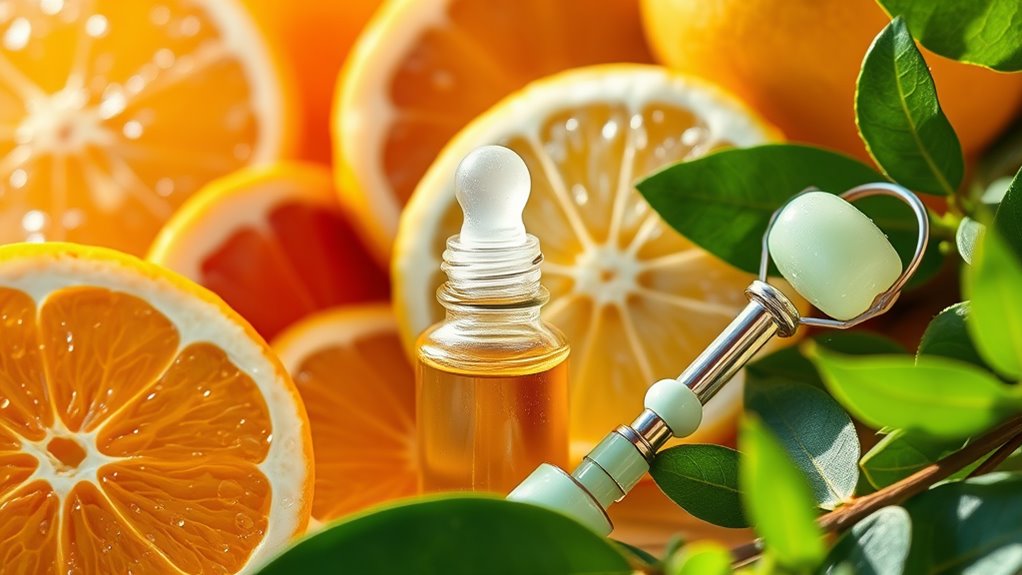
Essential oils like lavender and tea tree are crucial; they possess anti-inflammatory and antibacterial properties that enhance healing. Add vitamin E oil for its antioxidant benefits, promoting skin regeneration.
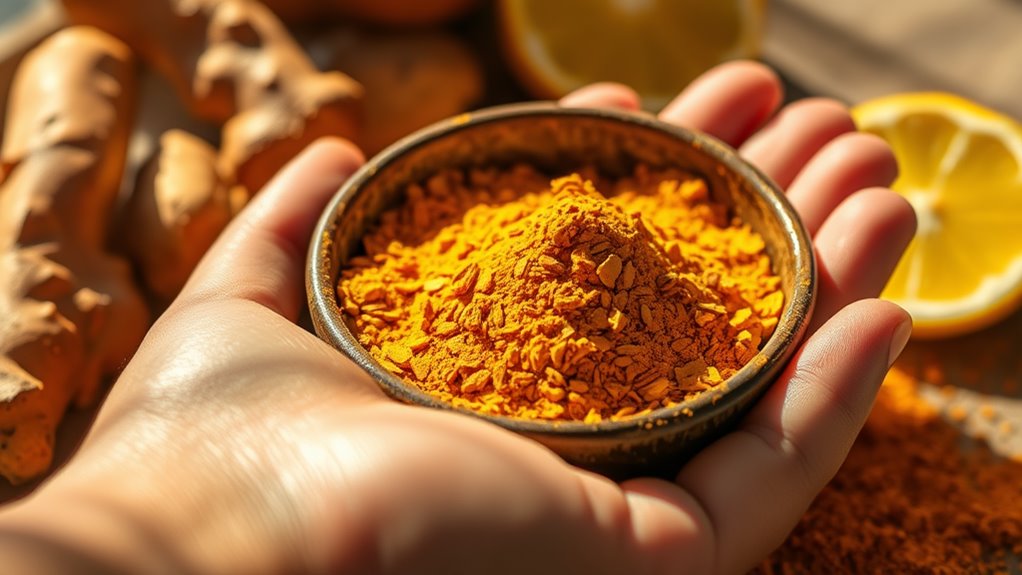
Finally, consider including calendula or chamomile extracts for added soothing effects. These ingredients work synergistically to create a powerful DIY scar balm, ensuring your skin heals effectively while minimizing the appearance of scars. Additionally, natural ingredients play a key role in enhancing the efficacy of your balm.
Step-by-Step Instructions for Making the Balm
To make your scar healing balm, gather all your ingredients and tools first, as having everything ready will streamline the process.
Start by measuring out your carrier oil and beeswax. In a double boiler, combine the carrier oil and beeswax, heating gently until the beeswax melts completely.
Stir in the essential oils, ensuring an even distribution. Once mixed, remove from heat and let it cool slightly.
Pour the mixture into a clean container or tin, filling it to the desired level. Allow your balm to cool completely at room temperature before sealing.
Label your balm clearly and store it in a cool, dark place. With these steps, you’ve created a potent balm ready to aid in scar healing!
Application Tips for Best Results
When applying your scar healing balm, it’s crucial to guarantee the affected area is clean and dry for best results.
Start by washing the area gently with mild soap and lukewarm water, then pat it dry with a clean towel.
Take a small amount of balm, about the size of a pea, and warm it between your fingers to enhance absorption.
Apply it gently using circular motions, ensuring even coverage without excessive pressure.
Allow the balm to absorb fully; this can take several minutes.
For best outcomes, repeat this process twice daily.
Stay consistent, as patience is key in scar healing. Additionally, using natural remedies can further enhance the effectiveness of your balm.
Monitor your progress, and adjust your application frequency if necessary, ensuring you’re always nurturing your skin effectively.
Storage Recommendations for Longevity
Proper storage of your scar healing balm can greatly extend its shelf life and maintain its effectiveness.
First, keep your balm in a cool, dark place, away from direct sunlight and heat sources. This helps prevent the degradation of essential ingredients.
Glass jars or metal tins with tight seals are ideal containers, as they protect against moisture and air exposure.
Make sure to use clean utensils when scooping out the balm to avoid contamination.
If you notice any changes in color, texture, or smell, it’s best to discard the balm.
Regularly check your supplies and use them within six months for best results.
Additional Natural Remedies for Scar Healing
While scar healing balms are beneficial, you can also explore additional natural remedies that promote skin regeneration and reduce the appearance of scars. Here are some effective options:
| Remedy | Benefits | Application |
|---|---|---|
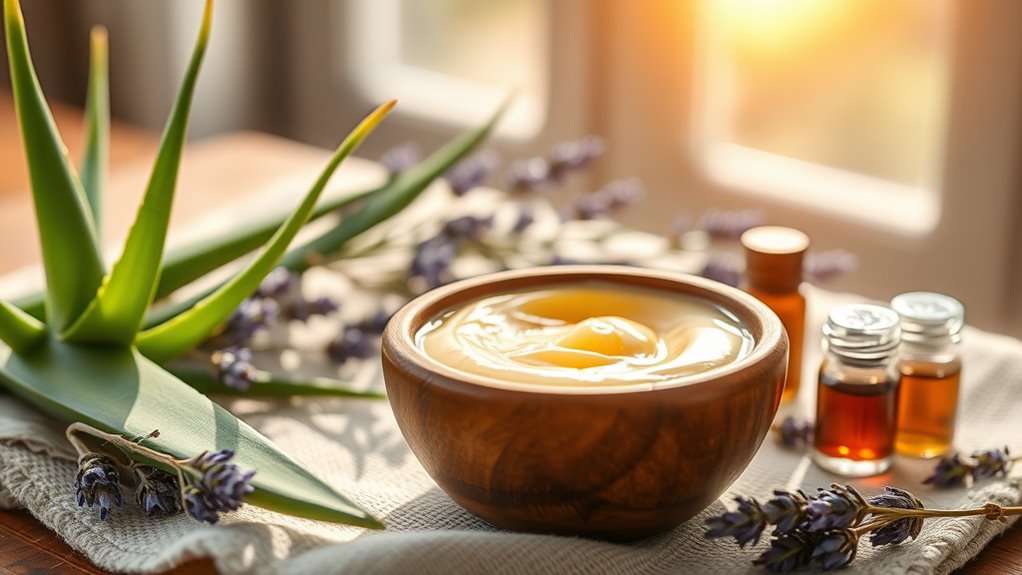
| Aloe Vera | Soothes skin and reduces inflammation | Apply gel directly |
| Coconut Oil | Moisturizes and promotes healing | Massage into scar area |
| Honey | Antibacterial and hydrates skin | Use as a mask |
| Vitamin E Oil | Enhances skin elasticity | Apply and massage daily |
Incorporating these remedies into your skincare routine can enhance your scar healing process. Additionally, using aloe vera at night can significantly boost skin healing due to its collagen-boosting properties. Experiment with these options to discover what works best for you, and you’ll be well on your way to achieving smoother skin.
Frequently Asked Questions
How Long Does It Take to See Results From the Balm?
You’ll typically see results within a few weeks if you apply the balm consistently. Factors like skin type and scar severity can influence the timeline, so patience and regular use are key to achieving ideal results.
Can I Use the Balm on Sensitive Skin?
Yes, you can use the balm on sensitive skin, but start with a patch test. Monitor for any irritation, and if you experience discomfort, discontinue use and consult a dermatologist for personalized advice.
Is the Balm Safe for Children?
You’ll want to guarantee the balm’s ingredients are safe and gentle before using it on children. Always consult a pediatrician for personalized advice, especially if your child has sensitive skin or specific allergies.
Can I Add Essential Oils to the Balm?
You can absolutely add essential oils to the balm. Just make certain you’re using skin-safe oils and dilute them properly. Experiment with different combinations to enhance benefits, but always patch-test before applying to larger areas.
What Should I Do if I Have an Allergic Reaction?
If you experience an allergic reaction, stop using the product immediately. Clean the affected area with mild soap and water, apply a cold compress, and consult a healthcare professional if symptoms persist or worsen.