Natural Anti-Aging Serum You Can Make at Home
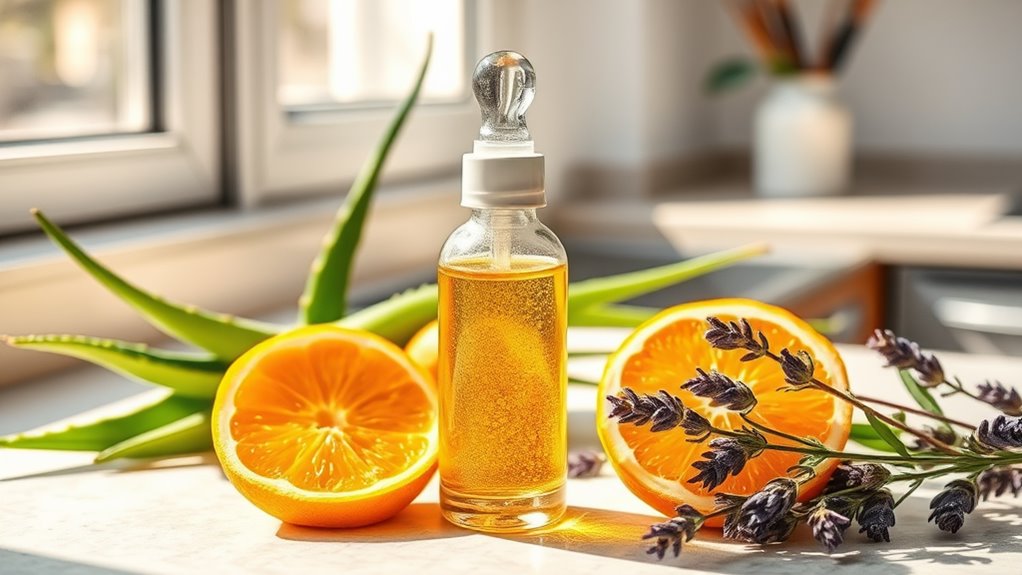
You can easily create a natural anti-aging serum at home with simple ingredients. Mix carrier oils like jojoba and rosehip for hydration and antioxidants, then add a few drops of essential oils like frankincense for improved skin tone. Apply it to clean skin, allowing it to absorb before moisturizing. Consistency is key for best results, and you’ll see improvements over time. There’s more to learn about enhancing your skincare routine effectively.
Key Takeaways
- Combine carrier oils like jojoba and rosehip with essential oils such as frankincense for an effective anti-aging serum.
- Use a simple recipe: 2 tablespoons of jojoba oil, 1 tablespoon of rosehip oil, and 1 teaspoon of vitamin E oil.
- Mix ingredients in a glass dropper bottle, shake gently, and let sit for a day to enhance infusion.
- Apply a few drops on clean skin, pat gently, and follow with moisturizer for optimal results.
- Maintain a consistent skincare routine and always protect skin with sunscreen during the day for best outcomes.
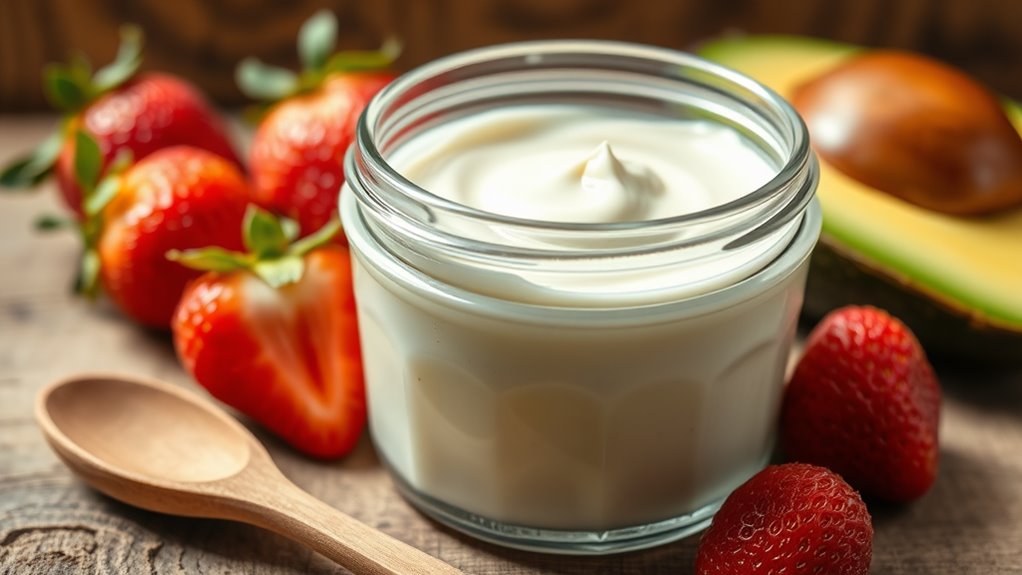
Understanding the Benefits of Natural Anti-Aging Ingredients
When you explore natural anti-aging ingredients, you’ll discover they offer a wealth of benefits for your skin.
These powerful components, like hyaluronic acid and vitamin C, hydrate, brighten, and rejuvenate your complexion. Incorporating them into your DIY anti-aging serum elevates your skincare routine to new heights. You’ll enhance your skin’s elasticity and reduce the appearance of fine lines, creating a youthful glow.
Natural ingredients also possess antioxidant properties, protecting your skin from environmental stressors. Furthermore, they’re less likely to cause irritation compared to synthetic options, making them suitable for all skin types. Additionally, using natural ingredients in your serum can support long-term skin health and sustainability in your beauty routine.
Essential Oils for Youthful Skin
Essential oils like frankincense, lavender, and rosehip are renowned for their rejuvenating properties. Frankincense helps reduce the appearance of fine lines and enhances skin tone, while lavender calms inflammation and promotes healing.
Rosehip oil is rich in vitamins A and C, promoting cell regeneration and improving skin elasticity. To master the art of blending, use only a few drops of each essential oil in your serum. Natural oils can help combat common signs of aging effectively.
Always perform a patch test to verify your skin responds well. With these potent oils, you can elevate your anti-aging regimen and achieve a youthful glow.
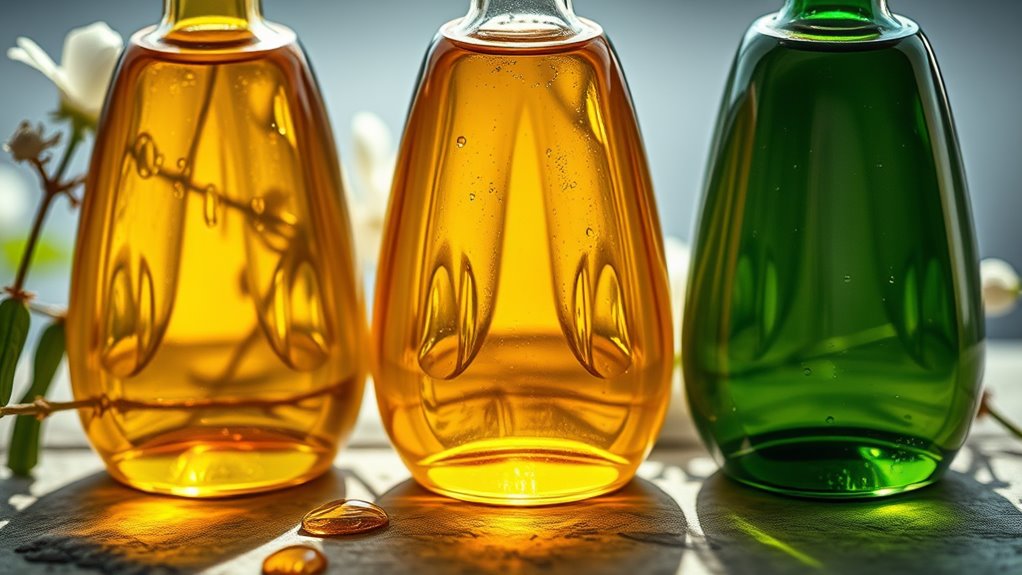
Carrier Oils to Nourish and Hydrate
When creating your DIY anti-aging serum, choosing the right carrier oil is essential. These oils not only help dilute essential oils but also provide deep nourishment and hydration for your skin. Let’s explore some of the best carrier oils and their incredible benefits for maintaining youthful skin, including their ability to promote a youthful complexion.
Best Carrier Oils
Choosing the right carrier oil is essential for creating an effective DIY anti-aging serum that nourishes and hydrates your skin.
Look for oils like jojoba, which closely resembles your skin’s natural oils, making it easily absorbed. Sweet almond oil is another excellent choice; it’s rich in vitamins and provides deep hydration.
If you prefer something a bit heavier, opt for avocado oil, packed with antioxidants to support skin elasticity. Argan oil is also a standout, known for its ability to enhance moisture and softness.
Finally, consider rosehip oil, which is celebrated for its regenerative properties.
Benefits for Skin
The right carrier oils don’t just serve as a base for your DIY anti-aging serum; they offer a multitude of benefits for your skin.
These oils deeply nourish and hydrate, penetrating the skin barrier to deliver essential fatty acids and vitamins. For instance, jojoba oil mimics your skin’s natural sebum, balancing oil production and providing a non-greasy finish.
Argan oil boasts high levels of vitamin E, promoting elasticity and reducing fine lines. Sweet almond oil is rich in antioxidants, protecting against environmental stressors while soothing irritation.
Incorporating these carrier oils into your routine not only enhances hydration but also fosters a radiant complexion, making your skin appear youthful and vibrant.
Mastery lies in knowing how to blend these oils effectively for best results.
Step-by-Step Guide to Making Your Serum
To create your own anti-aging serum, start by gathering the necessary ingredients and tools to guarantee a smooth process. Here’s what you’ll need:
-
Essential Oils (like rosehip or lavender)
-
Carrier Oil (such as jojoba or argan)
-
Glass Dropper Bottle (for storage)
Once you have everything ready, follow these steps:
First, measure out the carrier oil into your dropper bottle.
Next, add your chosen essential oils, typically a few drops will suffice, depending on your preference.
Finally, shake the bottle gently to combine the ingredients thoroughly.
Allow the serum to sit for a day to enhance the infusion. Incorporating natural ingredients into your skincare routine can provide added benefits for your skin.
Remember to perform a patch test before applying it to your face, ensuring it suits your skin type and sensitivity.
Enjoy your homemade serum!
Recommended Recipe for a Natural Anti-Aging Serum
Creating your own anti-aging serum opens up the opportunity to customize it based on your skin’s unique needs. Here’s a recommended recipe that balances hydration, nourishment, and rejuvenation.
| Ingredient | Benefits | Quantity |
|---|---|---|
| Jojoba Oil | Moisturizing, non-greasy | 2 tablespoons |
| Rosehip Seed Oil | Rich in antioxidants | 1 tablespoon |
| Vitamin E Oil | Skin repair, anti-aging | 1 teaspoon |
Mix these ingredients in a clean glass bottle. Shake well before each use. Apply a few drops on your face after cleansing, focusing on areas needing extra attention. Experiment with the ratios to find what works best for you, and enjoy your personalized serum! Additionally, incorporating effective anti-aging oils can further enhance the serum’s benefits for mature skin.
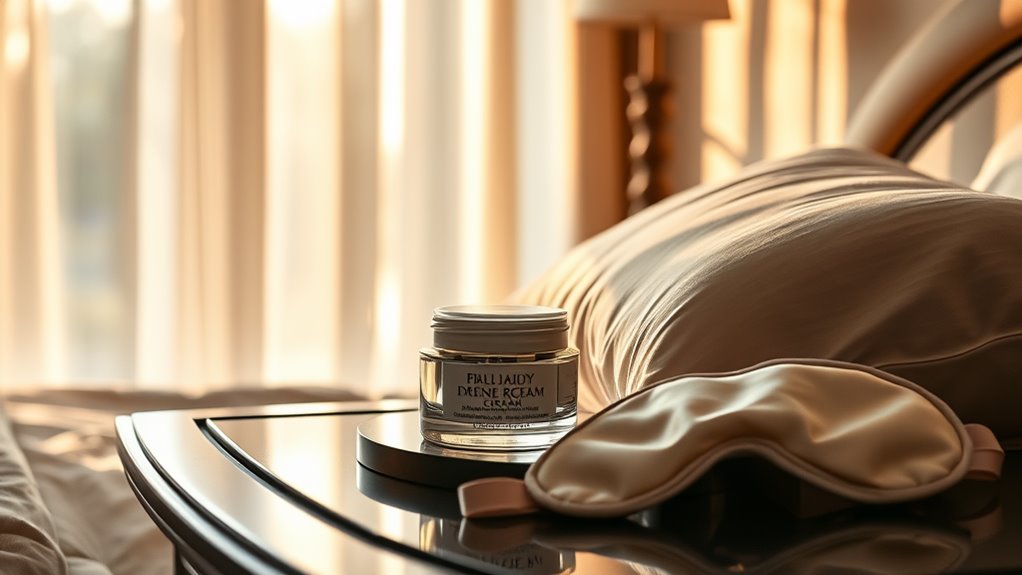
How to Properly Store Your Serum
Properly storing your DIY anti-aging serum is essential for maintaining its potency and effectiveness. To guarantee your serum remains fresh and effective, follow these key storage tips:
-
Cool, Dark Place: Keep it away from direct sunlight and heat sources. A bathroom cabinet or cool drawer is ideal.
-
Air-Tight Container: Use a glass dropper bottle or a tightly sealed jar to minimize exposure to air, preventing oxidation.
-
Refrigeration: If your serum contains essential oils or active ingredients, consider refrigerating it to extend its shelf life and enhance its revitalizing properties.
Application Techniques for Best Results
After ensuring your DIY anti-aging serum is stored correctly, it’s time to focus on how you apply it for maximum benefit. Start with a clean face, and use gentle, upward strokes to promote circulation. Here’s a quick reference table for effective application techniques:
| Technique | Description |
|---|---|
| Cleansing | Wash your face with a gentle cleanser. |
| Application | Use 3-5 drops of serum on your fingertips. |
| Massage | Gently press serum into skin, avoiding tugging. |
| Targeting Areas | Focus on areas showing signs of aging, like the forehead and around the eyes. |
| Finishing Touch | Allow serum to absorb before applying moisturizer. |
Master these techniques to enhance your serum’s effectiveness and reveal youthful, radiant skin!
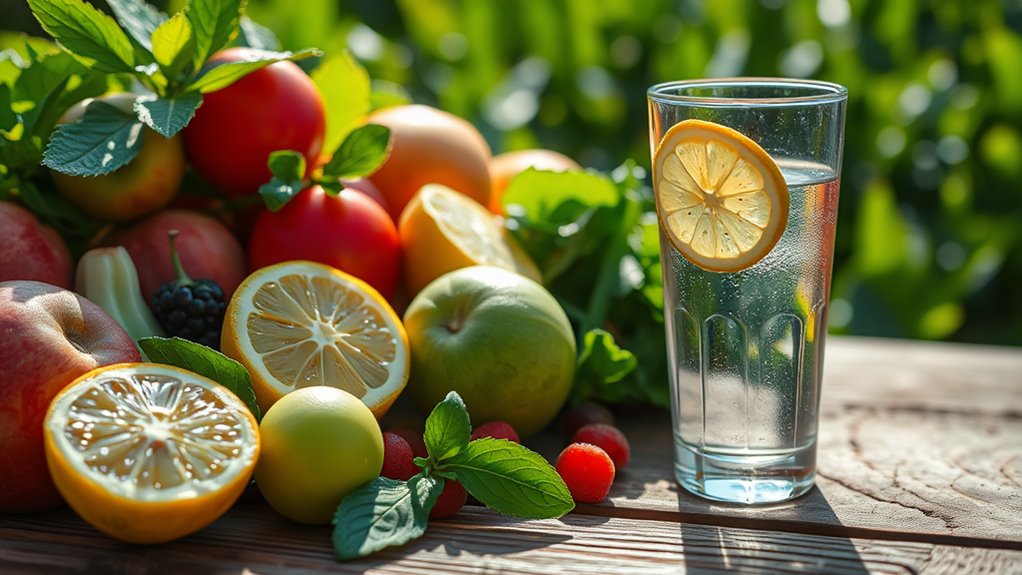
Additional Tips for Enhancing Your Skincare Routine
While applying your DIY anti-aging serum is essential, enhancing your overall skincare routine can amplify its effects.
Here are some strategies to elevate your regimen:
-
Hydrate: Drink plenty of water daily. Proper hydration guarantees your skin remains plump and radiant, which complements your serum’s effects.
-
Exfoliate regularly: Use a gentle exfoliant 1-2 times a week. This helps remove dead skin cells, allowing your serum to penetrate deeper and work more effectively.
-
Protect your skin: Always apply sunscreen during the day. Shielding your skin from UV rays prevents premature aging and enhances the benefits of your anti-aging serum.
Frequently Asked Questions
Can I Use This Serum on Sensitive Skin Types?
Yes, you can use this serum on sensitive skin types, but make sure to perform a patch test first. If you notice any irritation, it’s best to discontinue use or consult a dermatologist for advice.
How Often Should I Apply the Serum?
You should apply the serum daily for best results. Start with once in the morning and once at night. Monitor your skin’s response and adjust frequency if needed to maintain ideal hydration and effectiveness.
Is This Serum Safe for Pregnant Women?
You should always consult a healthcare professional before using any skincare product during pregnancy. While many ingredients are safe, some might not be suitable for you. Prioritizing your health and your baby’s is essential.
Can I Mix Different Essential Oils Together?
Yes, you can mix different essential oils together, but be cautious. Each oil has unique properties; always research their compatibility and dilution ratios. Trust your instincts and test blends before applying them to your skin.
What Are the Signs of Serum Going Bad?
You’ll notice signs of serum going bad when it changes color, develops an unusual smell, or separates. If it feels gritty or has an off texture, it’s best to discard it immediately for safety.