My Favorite DIY Mask for Glowing Skin
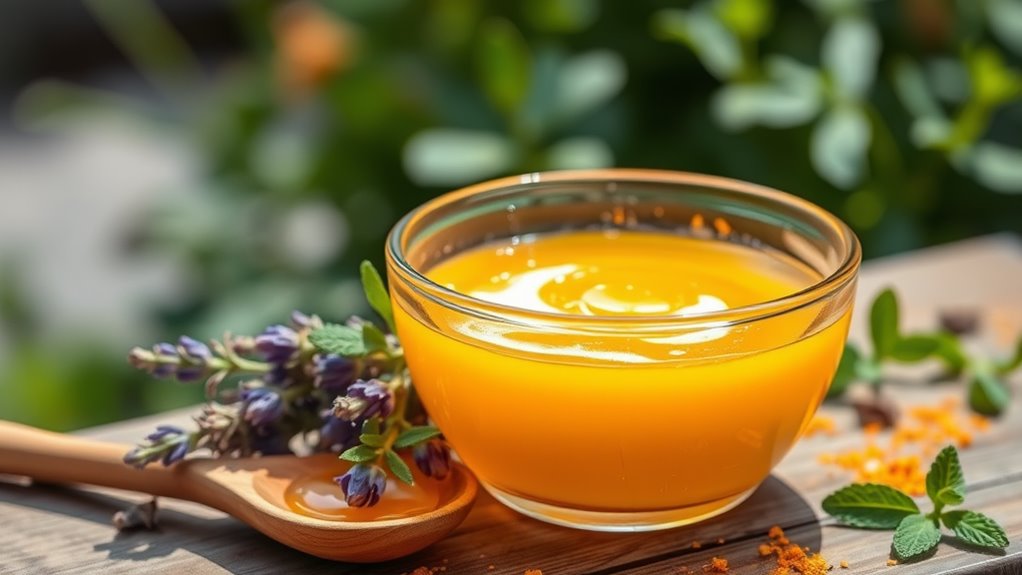
Your favorite DIY mask for glowing skin can be made with mashed avocado, honey, and yogurt. This mix hydrates, nourishes, and gently exfoliates for a fresh, bright complexion. Just apply it evenly on your clean face, let it sit for 15-20 minutes, and rinse off for best results. Using it a few times each week can keep your skin looking radiant. Want to discover more tips and tricks for your skincare routine?
Key Takeaways
- A simple and effective DIY mask combines ripe avocado, honey, and yogurt for hydration and nourishment.
- Tailor the mask to your skin type by adjusting ingredients for oily, dry, or sensitive skin.
- Apply the mask evenly with upward strokes for enhanced circulation and better absorption.
- Use the mask two to three times a week, starting with once a week for new users.
- Always perform a patch test before application to avoid potential allergic reactions.
Benefits of a DIY Mask for Glowing Skin
When you choose to make a DIY mask for glowing skin, you reveal a world of benefits that store-bought products often can’t compete with.
Crafting your own face mask favorite allows you to tailor ingredients specifically to your skin’s needs, ensuring maximum effectiveness. You’ve got the power to select natural components, free from harsh chemicals, so your skin absorbs only nourishing elements.
Plus, the satisfaction of creating something unique can elevate your skincare routine into a ritual of self-care. DIY masks are often more affordable than their commercial counterparts, letting you indulge without breaking the bank.
You’ll find that experimenting with various recipes can lead to discovering new favorites, enhancing your mastery over personal skincare. Additionally, many natural ingredients offer specific skin benefits that can enhance your glowing complexion.
Key Ingredients for the Perfect Mask
To create the perfect mask, you’ll want to focus on natural exfoliants and hydrating ingredients.
Exfoliants help remove dead skin cells, revealing a brighter complexion, while hydration keeps your skin plump and glowing. Adding common kitchen ingredients to your mask can enhance its effectiveness and provide a luxurious experience.
Let’s explore how these key ingredients can elevate your DIY mask game.
Natural Exfoliants Benefits
Natural exfoliants are essential for achieving that radiant glow, as they effectively slough away dead skin cells and reveal a brighter complexion underneath. By incorporating ingredients like sugar, coffee grounds, or oatmeal into your DIY mask, you’re not just removing impurities; you’re also enhancing skin texture and promoting cell turnover.
These natural agents work to unclog pores, reducing the likelihood of breakouts and dullness. Additionally, they stimulate blood circulation, which can lead to healthier, more vibrant skin.
When you formulate your mask, consider the balance between exfoliation and gentleness—over-exfoliation can irritate. Aim for a blend that feels invigorating yet nourishing, ensuring you harness the full potential of your ingredients for that coveted glow.
Happy masking!
Hydrating Ingredients Importance
After exfoliating, hydrating ingredients play an essential role in keeping your skin healthy and glowing. They replenish moisture, enhance elasticity, and promote a radiant complexion.
Here are three key hydrating ingredients to include in your DIY mask:
-
Aloe Vera: Known for its soothing properties, aloe vera hydrates while calming irritation, making it perfect for all skin types.
-
Honey: This natural humectant attracts moisture to your skin, providing hydration and leaving your face feeling soft and supple.
-
Avocado: Rich in healthy fats and vitamins, avocado nourishes and deeply moisturizes, ensuring your skin retains its glow.
Incorporating these ingredients will elevate your DIY mask, giving you the mastery needed for luminous skin.
Step-by-Step Recipe
Creating your own glowing skin mask is easier than you might think, and just a few simple ingredients can make a noticeable difference.
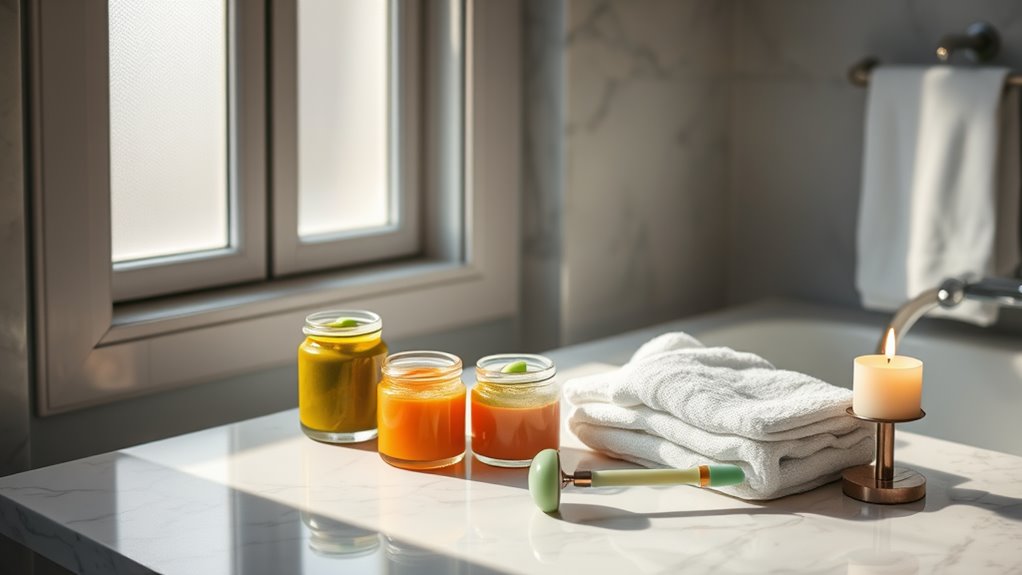
Start by gathering one ripe avocado, two tablespoons of honey, and one tablespoon of plain yogurt. Mash the avocado in a bowl until smooth, then mix in the honey and yogurt until you achieve a creamy consistency.
This blend harnesses the hydrating properties of avocado, the antibacterial benefits of honey, and the exfoliating effect of yogurt. Additionally, using natural ingredients in your skincare routine can significantly enhance your skin’s overall health and radiance benefits.
Once your mixture is ready, it’s time to apply it. Spread an even layer across your clean face, avoiding your eyes and mouth. Allow it to sit for about 15-20 minutes, then rinse off with lukewarm water for refreshed, radiant skin.
Enjoy your results!
Application Tips for Best Results
To achieve the best results from your DIY mask, make certain your skin is clean and dry before application. This prepares your skin to absorb the mask’s nutrients effectively.
Here are three essential tips for ideal application:
-
Use a brush or spatula: This guarantees an even layer, preventing wastage and allowing for better coverage.
-
Apply in upward motions****: This technique promotes circulation and helps lift your skin, enhancing the mask’s benefits.
-
Leave it on for the recommended time: Sticking to the suggested duration maximizes the mask’s effectiveness without risking irritation. Additionally, consider using masks with common kitchen ingredients to boost your skin’s glow naturally.
Frequency of Use
Regularly using your DIY mask can greatly enhance your skin’s glow and overall texture. For best results, aim to apply the mask two to three times a week. This frequency allows your skin to absorb the nutrients without overwhelming it.
If you’re new to DIY masks, start with once a week and gradually increase as your skin adjusts. Monitor how your skin responds; if you notice any irritation, scale back.
Consistency is key, so make it a part of your skincare routine. Complement your mask application with a proper cleansing and moisturizing regimen to maximize benefits. Incorporating stress management techniques into your daily routine can further enhance the effectiveness of your skincare efforts.
Personal Experience With the Mask
After incorporating the mask into your weekly routine, you might start noticing significant changes in your skin.
The glow you seek isn’t just a fleeting moment; it becomes a lasting impression that reflects your dedication.
Here are three transformations you’ll likely experience:
-
Enhanced Radiance: Your complexion will brighten, revealing a youthful glow that turns heads.
-
Improved Texture: The mask works wonders on uneven skin, smoothing out rough patches and promoting softness.
-
Hydration Boost: You’ll feel a surge of moisture, leaving your skin plump and revitalized.
With consistent application, each of these benefits compounds, making your skin not only look better but also feel healthier.
Embrace the journey and enjoy your newfound confidence!
Other Natural Ingredients to Consider
While the DIY mask has proven effective, exploring other natural ingredients can elevate your skincare routine even further.
Consider incorporating honey, a natural humectant that hydrates and nourishes your skin. Its antibacterial properties help combat acne while promoting a radiant complexion.
Aloe vera is another powerhouse; it soothes irritation and provides essential moisture, leaving your skin feeling refreshed.
You might also experiment with turmeric, known for its anti-inflammatory benefits and ability to brighten your skin tone.
Finally, don’t overlook green tea extract, rich in antioxidants that protect against environmental damage and premature aging.
Precautions and Skin Sensitivity
Before you apply any DIY mask, it’s essential to perform a patch test to check for potential reactions.
Everyone’s skin is different, so consider your specific sensitivities and skin type when selecting ingredients.
This way, you can guarantee a glowing complexion without irritation.
Patch Test Importance
Although you might be enthusiastic to try out your DIY mask for glowing skin, it’s important to perform a patch test first. This vital step helps you avoid potential adverse reactions and guarantees your skin stays healthy.
Here’s how to do it effectively:
-
Choose a small area****: Apply a small amount of the mask on your inner forearm or behind your ear.
-
Wait 24 hours: Allow the mask to sit for a full day to monitor any reactions.
-
Assess your skin: After 24 hours, check for redness, itching, or swelling. If you notice any of these, it’s best to skip that ingredient.
Ingredient Sensitivities
Understanding ingredient sensitivities is essential for achieving glowing skin without irritation. Before diving into your DIY mask, take time to familiarize yourself with each component.
Natural ingredients like honey, avocado, and essential oils can provide immense benefits, but they may also trigger reactions in sensitive skin. Pay attention to any history of allergies or irritations. If you notice redness, itching, or a burning sensation during a patch test, don’t ignore these signals. Instead, eliminate that ingredient from your mask.
Always opt for high-quality, organic components to minimize the risk of adverse reactions. By being mindful of what you apply, you’ll not only protect your skin but also enhance its natural glow effectively.
Mastering this knowledge is key to your skincare success.
Skin Type Considerations
When crafting your DIY mask, it’s crucial to take into account your skin type, as different skin types have unique needs and sensitivities.
Understanding your skin will help you achieve the best results without irritation. Here are three key considerations:
-
Oily Skin: Use ingredients like clay and lemon to absorb excess oil and prevent breakouts.
-
Dry Skin: Incorporate hydrating components such as honey or avocado to nourish and restore moisture.
-
Sensitive Skin: Opt for gentle ingredients like oatmeal and yogurt, which soothe and reduce inflammation.
Frequently Asked Questions
Can I Use This Mask on Sensitive Skin?
You can use this mask on sensitive skin, but it’s wise to test a small area first. If irritation occurs, consider adjusting the ingredients or finding a gentler alternative that suits your skin better.
How Long Does the Mask Stay Fresh?
The mask stays fresh for about one week when stored in an airtight container in the fridge. If you notice any change in smell or texture, it’s best to discard it for safety.
Can I Store Leftover Mask for Later Use?
Yes, you can store leftover mask in an airtight container in the fridge for up to a week. Just be sure to check for any changes in smell or texture before using it again.
What Are Common Mistakes to Avoid?
When creating a DIY mask, avoid using expired ingredients, applying it on dirty skin, and leaving it on for too long. Make certain you patch-test beforehand to prevent irritation and tailor the recipe to your skin type.
Will This Mask Help With Acne Scars?
Yes, this mask can help with acne scars. It contains ingredients that promote healing and skin regeneration. By using it regularly, you’ll notice improvements in your skin’s texture and overall appearance over time.


