
DIY Mask That Repaired My Split Ends Naturally
To repair your split ends naturally, try a DIY hair mask made from ripe avocado, honey, and olive oil. Mash the avocado and mix it with honey and olive oil for a nourishing blend. Apply it on dry hair, focusing on ends, and let it sit for a while. Use this mask weekly for smoother, shinier hair, and watch those split ends diminish. Discover even more tips to maintain your hair’s health effectively!
Key Takeaways
- Create a mask using 1 ripe avocado, 2 tablespoons of honey, and 2 tablespoons of olive oil for deep nourishment.
- Apply the mask on dry, unwashed hair, focusing on mid-lengths and ends for better absorption.
- Cover hair with a shower cap to enhance ingredient penetration and leave it on for optimal results.
- Use the mask once a week, increasing to twice if hair is very dry or damaged, for consistent care.
- Maintain regular trims every 6-8 weeks to eliminate split ends and promote healthier hair growth.
Understanding Split Ends and Their Causes
Split ends can be a frustrating hair issue that many people face. They occur when the protective outer layer of your hair cuticle wears away, leaving the inner fibers exposed and vulnerable.
Factors like heat styling, chemical treatments, and environmental stressors contribute to this damage. When you neglect proper hair care, your strands lose moisture, leading to brittleness and split ends. To achieve a split end fix, you need to identify and address these causes. Regularly trimming your hair helps maintain its health, but you should also incorporate nourishing treatments into your routine. A DIY hair mask can effectively revitalize your hair by providing the essential nutrients needed to restore moisture and repair damage.
Benefits of Natural Ingredients for Hair Repair
When you choose natural ingredients for your hair repair, you’re giving your strands the nourishment they crave. These ingredients work to reduce damage without harsh chemicals, promoting healthier hair over time. Additionally, incorporating dietary adjustments into your routine can significantly enhance hair growth and overall health.
Nourishing Hair Health
Natural ingredients have long been celebrated for their ability to rejuvenate and repair damaged hair, making them an excellent choice for nourishing hair health. By integrating these natural elements into your routine, you’ll access a treasure trove of benefits that promote vibrant, lustrous locks.
| Ingredient | Benefit |
|---|---|
| Coconut Oil | Deep hydration |
| Aloe Vera | Soothes scalp irritation |
| Avocado | Strengthens hair |
| Honey | Adds natural shine |
Using these ingredients in your DIY mask not only enriches your hair but also provides essential nutrients that work from within. You’ll notice improved texture, reduced frizz, and a healthier scalp, setting the stage for long-term hair health. Embrace nature’s power to enhance your mane!
Reducing Damage Naturally
To effectively reduce damage to your hair, embracing the power of natural ingredients can make a significant difference. Ingredients like coconut oil, aloe vera, and honey not only nourish but also strengthen your strands, creating a protective barrier against environmental stressors.
Coconut oil penetrates the hair shaft, preventing moisture loss, while aloe vera soothes the scalp and promotes healthy growth. Honey acts as a natural humectant, drawing moisture into the hair and enhancing its shine.
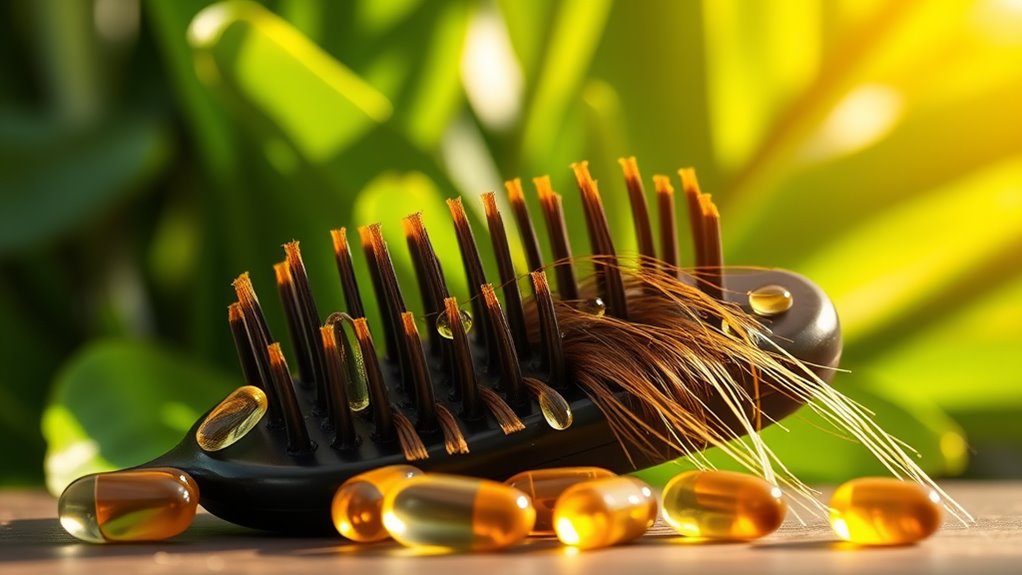
Essential Ingredients for the DIY Hair Mask
To create an effective DIY hair mask, you’ll want to focus on a few key ingredients. Nourishing oils can repair damage, while protein-rich ingredients strengthen your strands. Don’t forget moisturizing agents, as they help keep your hair hydrated and manageable. Additionally, incorporating natural ingredients into your mask can enhance its effectiveness and provide even greater benefits for your hair.
Nourishing Oils Benefits
When you’re looking to revive dry, damaged hair, incorporating nourishing oils into your DIY hair mask can make a significant difference. These oils penetrate deeply, providing essential moisture and improving hair texture. Here are some key oils to take into account:
| Oil | Benefits |
|---|---|
| Argan Oil | Rich in antioxidants, promotes shine and softness. |
| Coconut Oil | Deeply hydrates, reduces protein loss, and enhances elasticity. |
| Jojoba Oil | Mimics natural scalp oils, balances moisture and prevents dryness. |
Using these oils regularly not only helps to repair split ends but also strengthens your hair from within. By mastering the art of blending these nourishing ingredients, you’ll achieve luscious, healthy locks that look and feel revitalized.
Protein-Rich Ingredients
Including protein-rich ingredients in your DIY hair mask can dramatically enhance its effectiveness. Proteins strengthen hair by rebuilding its structure and minimizing split ends.
Eggs, for example, are packed with high-quality protein and biotin, both vital for hair health. Greek yogurt also serves as an excellent source, providing moisture and protein, which work together to restore your strands.
If you’re looking for plant-based options, consider incorporating chickpea flour or hemp seeds. Both deliver essential amino acids that nourish and fortify your hair.
Moisturizing Agents Importance
While protein is essential for repairing damage, moisturizing agents play an equally important role in maintaining healthy hair. These agents, like honey, aloe vera, and oils, hydrate your strands, making them more manageable and less prone to breakage.
Honey acts as a natural humectant, drawing moisture into your hair, while aloe vera provides essential vitamins that soothe and nourish. Oils, such as jojoba or coconut, seal in that moisture, creating a protective barrier against environmental stressors.
By incorporating these moisturizing ingredients into your DIY hair mask, you not only enhance your hair’s elasticity but also improve its overall texture.
Mastering the balance of protein and moisture is key to achieving vibrant, resilient locks that shine with health.
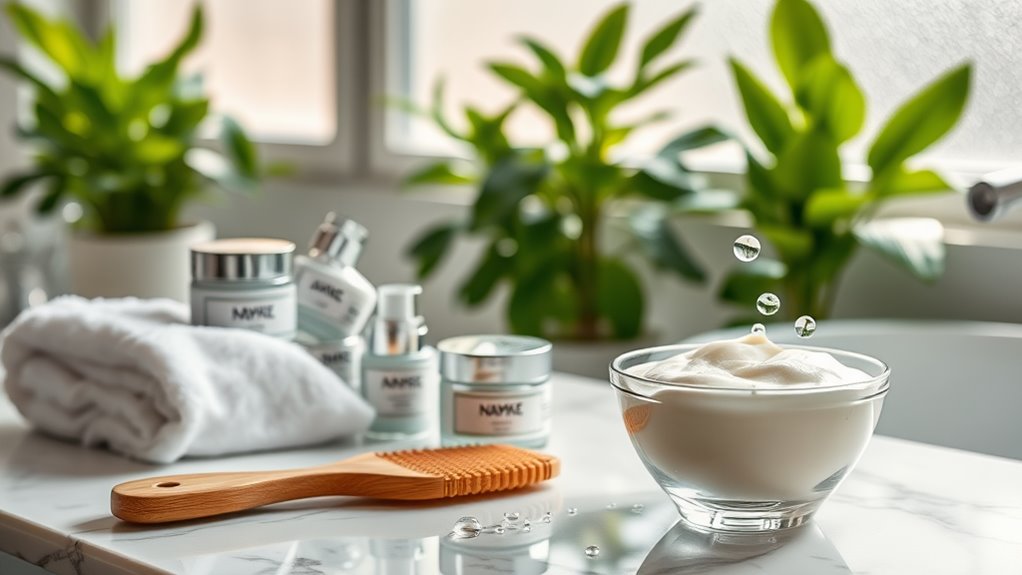
Step-by-Step Instructions to Create the Mask
To create an effective DIY mask for split ends, you’ll need to gather a few simple ingredients that you likely already have at home.
This mask is straightforward to prepare and will help rejuvenate your hair.
Here’s what you’ll need:
-
1 ripe avocado**** – Rich in vitamins and healthy fats, it nourishes and strengthens your hair.
-
2 tablespoons of honey – A natural humectant that locks in moisture and adds shine.
-
2 tablespoons of olive oil – Hydrates and provides essential nutrients to your hair.
Once you have these ingredients, mash the avocado in a bowl, then mix in the honey and olive oil until you achieve a smooth consistency.
Your mask is ready for use! Incorporating natural treatments into your hair care routine can significantly improve its overall health and appearance.
How to Apply the Hair Mask Effectively
After preparing your avocado, honey, and olive oil mask, applying it correctly can maximize its benefits.
Start with dry, unwashed hair to guarantee the mask adheres better. Section your hair into manageable parts, using clips to keep it organized.
Take a generous amount of the mask and apply it evenly, focusing on the mid-lengths and ends where split ends are most prevalent. Avoid the roots to prevent greasiness.
Use your fingers to gently massage the mask in, making sure every strand is coated. Once applied, gather your hair into a loose bun and cover it with a shower cap to trap heat, enhancing absorption. Heat helps to improve ingredient absorption, allowing the mask to work more effectively overnight.
Leave it on for at least 30 minutes before rinsing thoroughly with lukewarm water.
Recommended Frequency of Use for Best Results
For best results, using your DIY mask for split ends once a week is ideal. This consistent application helps to nourish and repair your hair effectively.
To maximize the impact, consider these three tips:
-
Choose the Right Day: Pick a day when you have time to let the mask work its magic, ideally after washing your hair.
-
Adjust Based on Hair Needs: If your hair feels particularly dry or damaged, you can increase frequency to twice a week, but monitor for any irritation.
-
Pair with Other Treatments: Use complementary products, like a leave-in conditioner, on off days to maintain hydration and health.
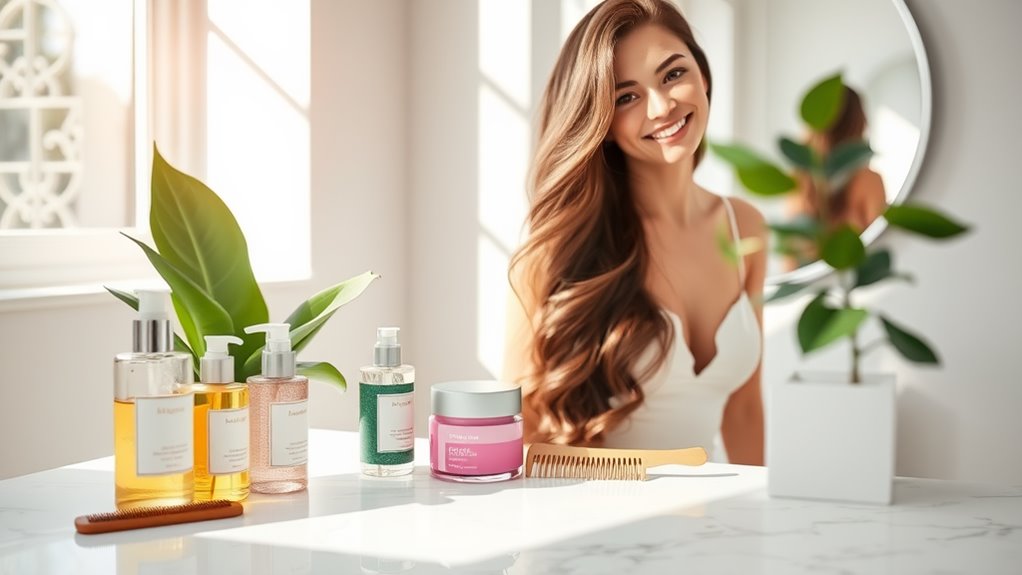
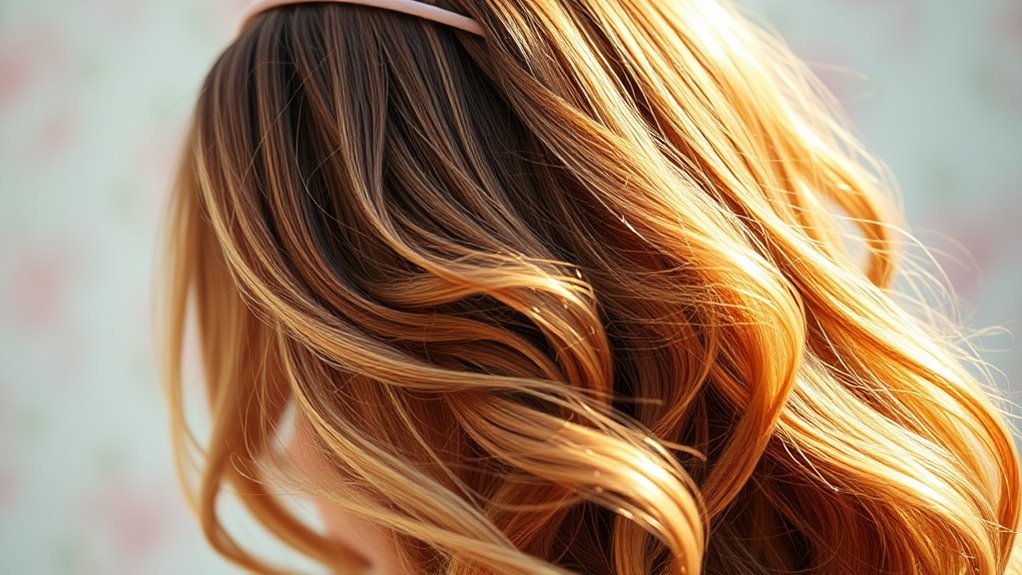
Before-and-After Results: My Hair Transformation
Many people see remarkable transformations in their hair after just a few weeks of using a DIY mask for split ends. You’ll likely notice your strands becoming smoother, shinier, and more manageable.
After consistently applying the mask, the frizz that once plagued your hair starts to diminish, revealing a healthier texture. You might even find that your split ends appear less pronounced, creating an illusion of fuller, thicker hair.
The contrast between your hair’s before-and-after state will be gratifying; it’s proof of your commitment to a natural solution. With each application, you’re not just treating your hair, but also nurturing it.
This journey toward revitalized locks empowers you, giving you the confidence to embrace your hair’s newfound energy.
Additional Tips for Maintaining Healthy Hair
While using a DIY mask for split ends can greatly improve your hair’s condition, maintaining healthy hair requires a few additional practices.
To master your hair care routine, consider these essential tips:
-
Regular Trims: Schedule trims every 6-8 weeks to remove split ends and encourage growth.
-
Hydration: Drink plenty of water and use hydrating hair products. Moisture is key for elasticity and shine.
-
Heat Protection: Always apply a heat protectant before styling. This shields your strands from damage caused by heat tools.
Incorporating these practices into your routine will help you maintain luscious locks.
Staying consistent is vital, so make these habits part of your hair care regimen for the best results.
Your hair will thank you!
Frequently Asked Questions
Can I Use This Mask on Color-Treated Hair?
Yes, you can use this mask on color-treated hair. Just make certain it’s free from harsh ingredients that might strip color. Regular use can help maintain moisture and liveliness, keeping your hair looking vibrant and healthy.
How Long Does the Mask Last Once Prepared?
Once you prepare the mask, it lasts about one week if stored in the refrigerator. Just remember to use it within that time frame to maximize its effectiveness and avoid any spoilage. Enjoy your hair care!
Are There Any Side Effects From the Ingredients?
Yes, some ingredients might cause allergic reactions or irritation, especially if you have sensitive skin. It’s best to patch-test before full application to guarantee you don’t experience any adverse effects. Stay informed and proceed cautiously.
Can I Store Leftover Mask for Future Use?
You can store leftover mask for future use, but it’s best to keep it in an airtight container in the fridge. Just remember to use it within a week for ideal freshness and effectiveness.
Will This Mask Work for All Hair Types?
This mask can benefit many hair types, but results may vary. If you’ve got fine, thick, curly, or straight hair, experiment to find what works best for you. Tailor the ingredients to suit your specific needs.