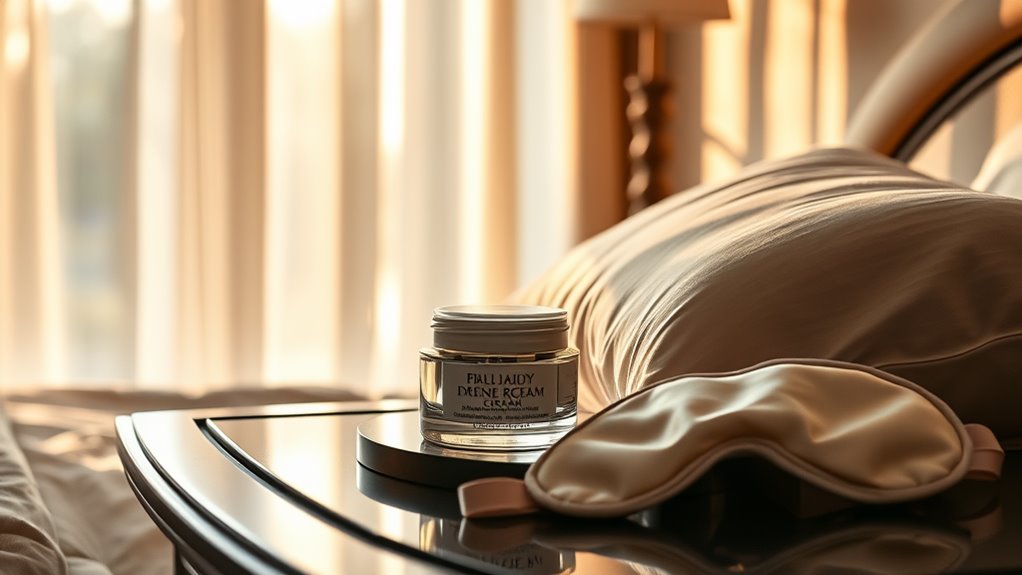
This DIY Cream Reduces Wrinkles in Just Days
This DIY cream can help reduce wrinkles in just days by incorporating powerful ingredients like hyaluronic acid and vitamin E, which boost hydration and collagen production. By following a simple recipe involving melted coconut oil and shea butter, you’ll create a nourishing blend that revitalizes your skin. Apply it consistently for the best results. For further tips on application and additional remedies, keep going and discover more about enhancing your skincare routine.
Key Takeaways
- The DIY cream contains hyaluronic acid and vitamin E, which hydrate and protect the skin, reducing the appearance of wrinkles.
- Regular application of the cream twice daily enhances collagen production and improves skin elasticity, leading to visible results in days.
- Essential oils added to the cream offer additional skin benefits, promoting rejuvenation and an even skin tone.
- Consistent use, combined with proper storage in an airtight container, maximizes the effectiveness of the cream’s active ingredients.
- Always patch test new formulations to ensure compatibility with your skin type and avoid irritation.
Understanding the Cause of Wrinkles
Understanding the cause of wrinkles is essential if you want to tackle them effectively.
Wrinkles develop due to a combination of factors, including age, sun exposure, and lifestyle choices. As you age, your skin loses collagen and elasticity, leading to creases and fine lines. Sun exposure accelerates this process, damaging skin cells and breaking down collagen.
Additionally, habits like smoking and poor hydration can exacerbate the issue. To combat these effects, using a targeted wrinkle cream can help rejuvenate your skin. Look for creams that boost hydration and stimulate collagen production, as they can play a significant role in minimizing the appearance of wrinkles. Incorporating effective anti-aging oils into your skincare routine can also enhance moisture levels and improve skin texture.
Essential Ingredients for Your DIY Cream
Here are four crucial ingredients you should consider:
-
Hyaluronic Acid: This powerhouse attracts moisture, plumping your skin and minimizing fine lines.
-
Vitamin E: A potent antioxidant that protects your skin from environmental damage and supports healing.
-
Shea Butter: Rich in fatty acids, it deeply moisturizes and improves skin elasticity, making it essential for wrinkle reduction.
-
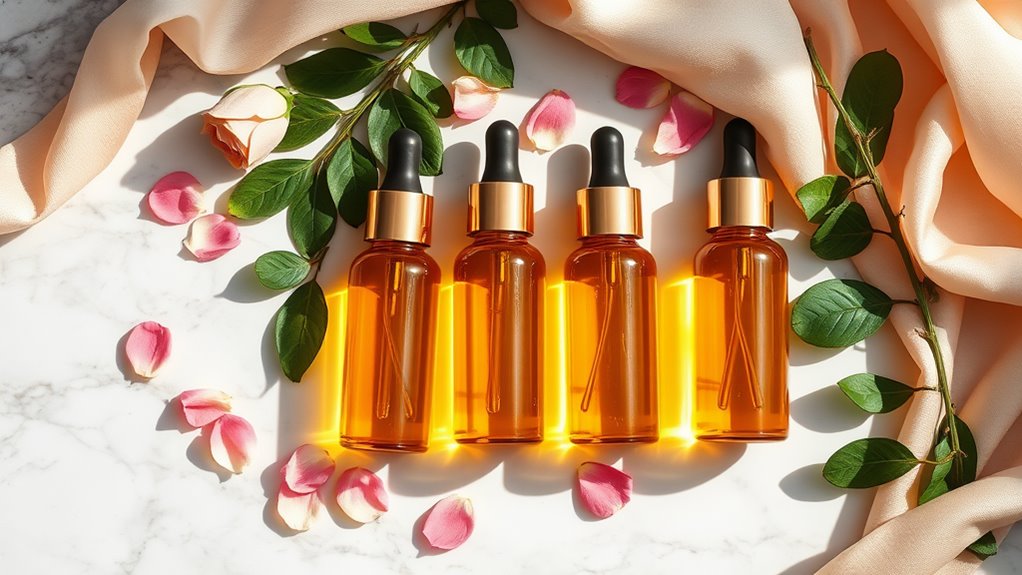
Rosehip Oil: Packed with vitamins A and C, it promotes cell regeneration and enhances skin tone. Incorporating natural oils into your skincare routine can further enhance the benefits of these ingredients.
Step-by-Step Instructions for Making the Cream
Making your own DIY cream for wrinkles is both simple and rewarding, and with just a few essential ingredients, you can create a powerful formula at home.
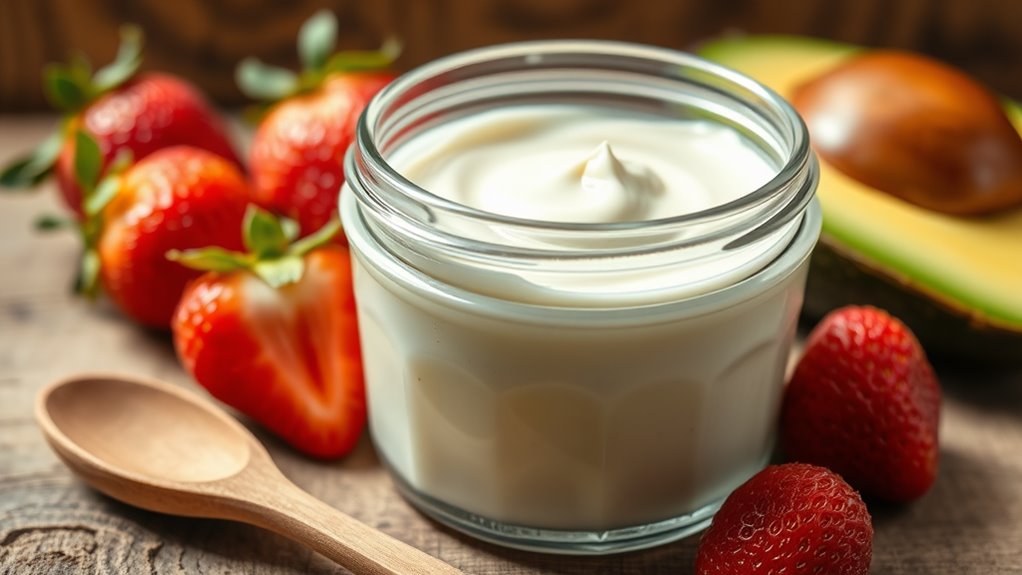
Start by gathering your ingredients: coconut oil, shea butter, and essential oils of your choice.
In a double boiler, melt equal parts of coconut oil and shea butter until smooth. Once melted, remove from heat and let it cool slightly.
Next, add 10-15 drops of your chosen essential oils for added benefits. Stir well to combine.
Pour the mixture into a clean jar and let it solidify at room temperature. Your cream’s ready!
Applying a small amount to your face daily can provide natural skincare solutions that help reduce the appearance of wrinkles. Massage gently to enhance absorption and enjoy the rejuvenating effects.
Benefits of Each Ingredient
-
Coconut Oil: Deeply hydrates and nourishes skin, reducing dryness and improving elasticity.
-
Shea Butter: Rich in vitamins A and E, it soothes inflammation and enhances skin repair, promoting a youthful appearance.
-
Vitamin E Oil: Acts as a powerful antioxidant, protecting against free radicals and supporting skin regeneration.
-
Essential Oils: Depending on the type, they can provide calming effects, improve circulation, and rejuvenate skin texture. Incorporating natural oils into your routine can enhance hydration and elasticity, further combating signs of aging.
Harness the power of these ingredients, and you’ll create a potent blend that works synergistically to combat wrinkles and enhance your skin’s overall health.
How to Apply the Cream for Best Results
To get the most out of your DIY cream, start by cleansing your skin thoroughly to remove any dirt or impurities.
After your skin is clean, apply the cream twice daily for ideal results. This routine will help maximize the benefits and keep your skin looking youthful. Additionally, incorporating natural ingredients into your skincare routine can enhance the effectiveness of your anti-aging efforts.
Cleanse Skin Thoroughly
A clean canvas is essential for applying your DIY cream effectively. Before you plunge into your skincare routine, make sure to cleanse your skin thoroughly. This step maximizes absorption and enhances the cream’s potency.
-
Use a gentle cleanser to remove dirt and impurities.
-
Exfoliate twice a week to eliminate dead skin cells and promote cell turnover.
-
Rinse with lukewarm water to open your pores without causing irritation.
-
Pat your skin dry with a clean towel, avoiding any harsh rubbing.
Apply Twice Daily
Applying your DIY cream twice daily is essential for achieving best results in your wrinkle-fighting journey.
Start each morning by applying a small amount of cream to clean, dry skin. Gently massage it in with upward strokes, focusing on areas prone to wrinkles, like your forehead, around your eyes, and mouth. This technique boosts absorption and stimulates circulation.
In the evening, repeat the process after your nightly cleansing routine. Consistency is key; your skin thrives on regular application.
Don’t rush—allow the cream to absorb fully before applying other products. Pay attention to how your skin responds; adjust the amount as needed.
Tips for Storing Your Homemade Cream
Storing your homemade cream properly is essential for maintaining its effectiveness and longevity.
To guarantee you get the most out of your DIY wrinkle cream, follow these tips:
-
Use airtight containers: Prevent air exposure to maintain freshness.
-
Keep it cool: Store in a refrigerator to slow down spoilage and preserve active ingredients.
-
Label your jars: Note the date of creation to track freshness and usage.
-
Avoid direct sunlight: Light can degrade the cream’s components, so choose a dark storage area.
Additional Natural Remedies for Wrinkle Reduction
While your DIY cream can work wonders for wrinkle reduction, incorporating additional natural remedies can enhance your skincare routine.
Consider adding aloe vera gel, which hydrates and promotes skin elasticity. You might also explore the benefits of rosehip oil, rich in essential fatty acids and antioxidants that help repair skin damage.
Regularly applying honey can enhance moisture retention and provide a natural glow, while green tea is packed with polyphenols that combat free radicals and reduce aging signs.
Don’t overlook the power of a balanced diet; foods high in vitamins C and E, like citrus fruits and nuts, support skin health from within.
Expected Results and Timeline
Incorporating your DIY cream with additional natural remedies can lead to noticeable improvements in your skin’s appearance. Within just a few days, you might begin to see a reduction in fine lines and a boost in overall brightness.
However, for more significant changes, consistency is key—expect ideal results in about two to four weeks.
Here’s what you can anticipate during this journey:
- Smoother texture as dead skin cells are sloughed away
- Increased hydration, leading to a plumper look
- A more even skin tone, thanks to natural ingredients
- Enhanced elasticity, making skin appear firmer
Safety Precautions and Considerations
Before diving into your DIY cream for wrinkles, it’s essential to take into account a few safety precautions to guarantee your skin remains healthy and irritation-free.
Start by conducting a patch test on a small area of your skin. This helps you identify any allergic reactions before applying the cream more broadly.
Always use high-quality, fresh ingredients; expired or contaminated materials can compromise both safety and effectiveness.
If you have sensitive skin, consider consulting a dermatologist before starting.
Remember to store your cream in a cool, dark place to maintain its efficacy.
Finally, listen to your skin—if you experience any irritation or discomfort, discontinue use immediately.
Prioritizing safety assures you achieve the best results without compromising your skin’s health.
Frequently Asked Questions
Can This Cream Be Used on Sensitive Skin Types?
Yes, you can use this cream on sensitive skin types, but always perform a patch test first. Monitor your skin’s reaction, and if irritation occurs, discontinue use to guarantee your skin stays healthy and comfortable.
How Often Should I Apply the Cream Daily?
You should apply the cream twice daily for ideal results. Consistency is key, so make it part of your morning and evening routine. This way, you’ll maximize its benefits and maintain your skin’s youthful appearance.
Is This Cream Safe for Pregnant Women?
You should consult your healthcare provider before using any cream during pregnancy. They’ll guarantee it’s safe for you and your baby, as some ingredients might not be suitable for pregnant women. Stay informed and prioritize safety!
Can I Add Essential Oils to the Cream?
You can definitely add essential oils to the cream, but make sure to choose skin-safe options and test for allergies. Start with a small amount to gauge your skin’s reaction before applying more.
What Is the Shelf Life of This DIY Cream?
The shelf life of your DIY cream typically lasts about two to three weeks when stored in a cool, dark place. Always check for any changes in smell or texture before using it.