Vitamin C Face Serum You Can Make in 5 Minutes
You can whip up a potent vitamin C face serum in just five minutes! Simply mix one teaspoon of L-ascorbic acid with a tablespoon of distilled water until dissolved. Add a tablespoon of your favorite carrier oil for hydration, and stir well. Pour the mixture into a dark glass dropper bottle for protection. Start enjoying brighter, more even skin! If you want to know more about the benefits and application tips, keep exploring this topic!
Key Takeaways
- Mix one teaspoon of L-ascorbic acid powder with one tablespoon of distilled water until fully dissolved.
- Add one tablespoon of glycerin or a carrier oil for hydration and absorption.
- Stir the mixture thoroughly to ensure all ingredients are well combined.
- Transfer the serum into a dark glass dropper bottle to protect it from light.
- Store the serum in a cool, dark place and use within a few weeks for maximum potency.
Benefits of Vitamin C for Your Skin
Vitamin C is an essential ingredient that can transform your skincare routine. When you incorporate vitamin C into your regimen, you’ll notice a brighter, more even complexion.
It’s renowned for its ability to combat free radicals, reducing oxidative stress and promoting healthier skin. You’ll also appreciate its role in stimulating collagen production, which helps diminish fine lines and wrinkles.
Plus, vitamin C aids in reducing hyperpigmentation, giving you a more uniform skin tone. By opting for a vitamin C DIY serum, you can harness these benefits in a cost-effective manner, ensuring your skin receives the nutrients it craves. Additionally, using vitamin C in your routine can enhance its antioxidant properties, further protecting your skin from environmental damage.
Embrace this potent antioxidant and watch your skin thrive, radiating energy and youthfulness.
Ingredients Needed for the Serum
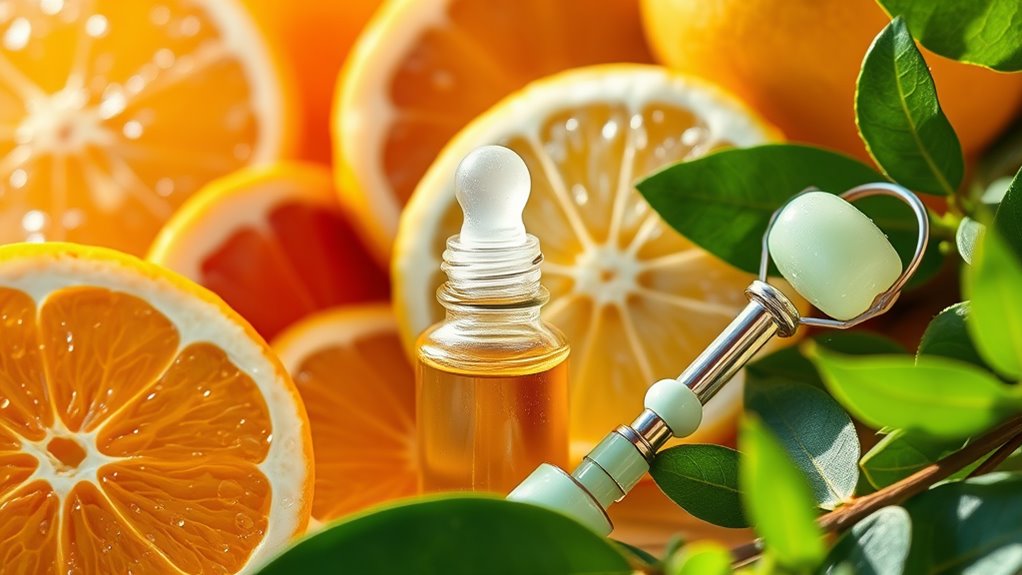
To create an effective DIY vitamin C face serum, you’ll need just a few key ingredients that pack a punch for your skin.
Start with L-ascorbic acid, the purest form of vitamin C, which delivers maximum potency. You’ll also want distilled water to help dissolve the acid and create a smooth texture.
Adding glycerin will enhance hydration, giving your skin that plump, youthful look. A few drops of vitamin E oil will provide extra antioxidant benefits and stabilize the serum.
Finally, consider including a preservative like phenoxyethanol to extend the shelf life.
With these powerful components, you’re on your way to crafting a serum that illuminates and rejuvenates your complexion effectively.
Get ready to transform your skincare routine!
Step-by-Step Instructions
Creating your DIY vitamin C face serum is straightforward and requires just a few simple steps.
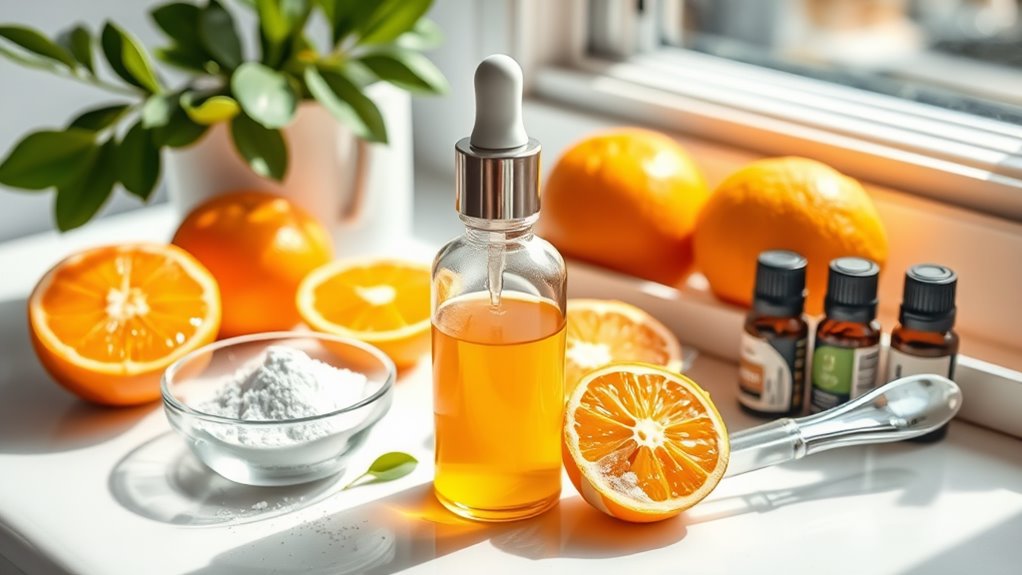
First, gather your ingredients: L-ascorbic acid powder, distilled water, and a carrier oil like jojoba or rosehip.
In a small bowl, mix one teaspoon of L-ascorbic acid with one tablespoon of distilled water until fully dissolved.
Next, incorporate one tablespoon of your chosen carrier oil to enhance absorption and hydration.
Stir the mixture thoroughly until it’s well combined.
Transfer your serum into a dark glass dropper bottle to protect it from light.
Finally, label your serum and store it in a cool, dark place.
With these steps, you’re ready to experience the benefits of your homemade vitamin C serum. Enjoy radiant skin!
Tips for Storing Your Serum
Since proper storage is essential for maintaining the potency of your DIY vitamin C serum, make sure to keep it in a cool, dark place. Use an airtight container to minimize oxidation. Consider storing it in the refrigerator to extend its shelf life, but bring it to room temperature before applying. Always avoid exposure to sunlight, as UV rays can degrade the serum’s effectiveness.
Here’s a quick reference table to help you remember:
| Storage Tip | Description |
|---|---|
| Cool Temperature | Keep in a place below 25°C (77°F) |
| Dark Environment | Use opaque or tinted containers |
| Airtight Container | Prevents air exposure and oxidation |
| Refrigeration (optional) | Extends shelf life but let it warm up before use |
How to Incorporate the Serum Into Your Skincare Routine
Incorporating your DIY vitamin C serum into your skincare routine can enhance your skin’s radiance and texture, especially when used correctly.
Follow these steps to maximize its benefits:
-
Cleanse: Start with a gentle cleanser to remove impurities and prep your skin.
-
Tone: Apply a toner to balance your skin’s pH and enhance serum absorption.
-
Apply Serum: Use a few drops of your vitamin C serum on your fingertips and gently pat it onto your face, focusing on areas needing extra care.
-
Moisturize: Seal in the serum with a nourishing moisturizer to lock in hydration.
Integrating these steps guarantees ideal results, allowing your skin to thrive and glow with energy. Additionally, using vitamin C in conjunction with a nourishing moisturizer can help maintain hydration and improve overall skin texture.
Frequently Asked Questions
Can I Use This Serum on Sensitive Skin?
Yes, you can use the serum on sensitive skin, but it’s essential to perform a patch test first. If you experience irritation, consider diluting the serum or choosing a gentler formulation for your skin.
How Often Should I Apply the Serum?
You should apply the serum once daily for ideal results. If your skin tolerates it well, consider increasing to twice a day. Just remember to monitor your skin’s response and adjust accordingly.
Is This Serum Suitable for All Skin Types?
This serum’s generally suitable for most skin types, but everyone’s unique. You should test it on a small area first. If irritation occurs, adjust usage or consult a dermatologist for personalized advice.
Can I Add Essential Oils to the Serum?
Yes, you can add essential oils to your serum. Just make sure they’re suitable for your skin type and used in moderation. Experimenting wisely can enhance benefits, but always patch test to avoid irritation. Enjoy the process!
What if I Experience Irritation After Using It?
If you experience irritation, stop using the product immediately. Assess the ingredients, and consider patch testing any new items. Consulting a dermatologist can provide personalized guidance to guarantee your skin’s health and comfort.